The KM6LYW Radio DigiPi Project


 Download
*
  Ver 2.2-1
 Sept 2026

      
     v2.1-3
   * Password is currently available to patrons on the KM6LYW Patreon Page Why the paywall? Anything gets you access to the DigiPi image, even a dollar. This is a way for me to give something tangible back to supporters of the KM6LYW Radio Youtube Channel. Please share with friends, but do not post this image online. All of the software carries an open-source license and is freely available, just not all in one place in a collective-work bootable image. Embedded Trademarks, logos, and support-links are copyright "KM6LYW Radio." Thank you for your continued support.

What is a DigiPi?

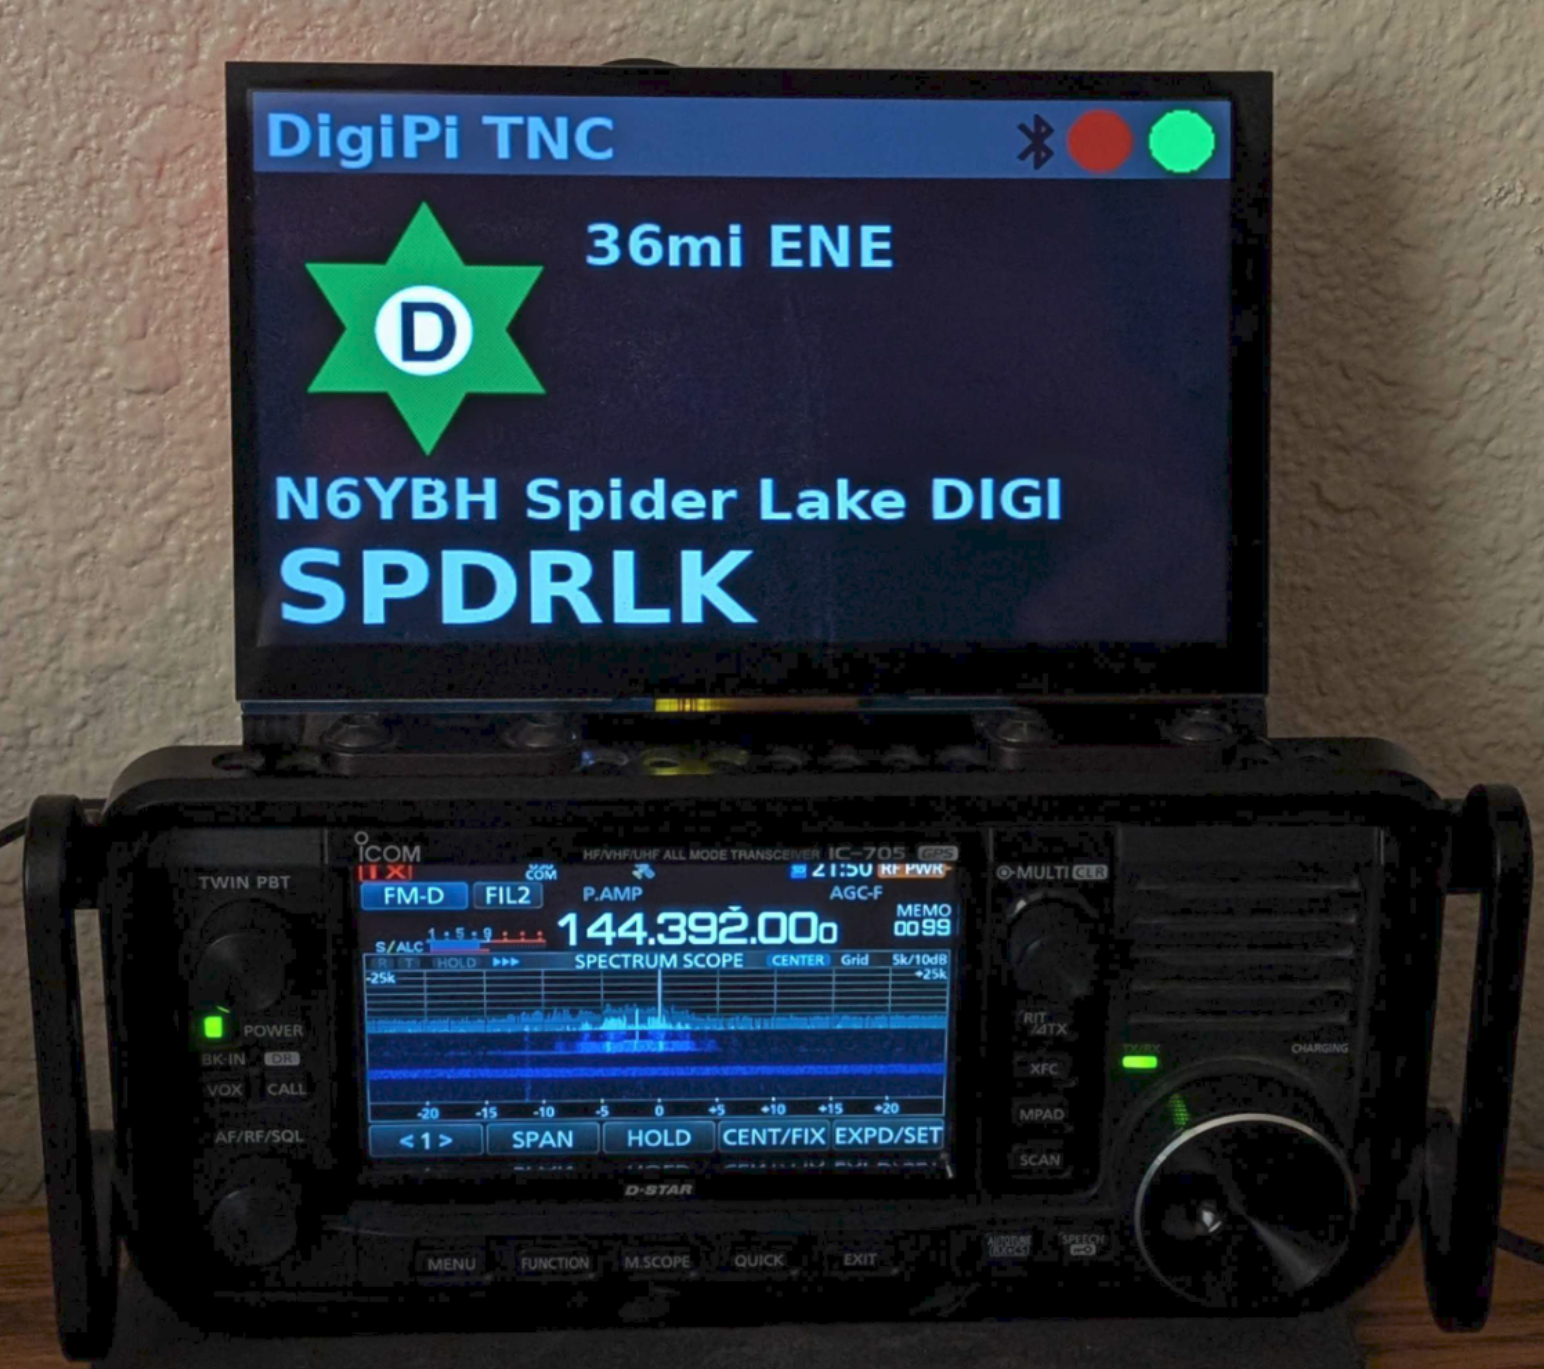
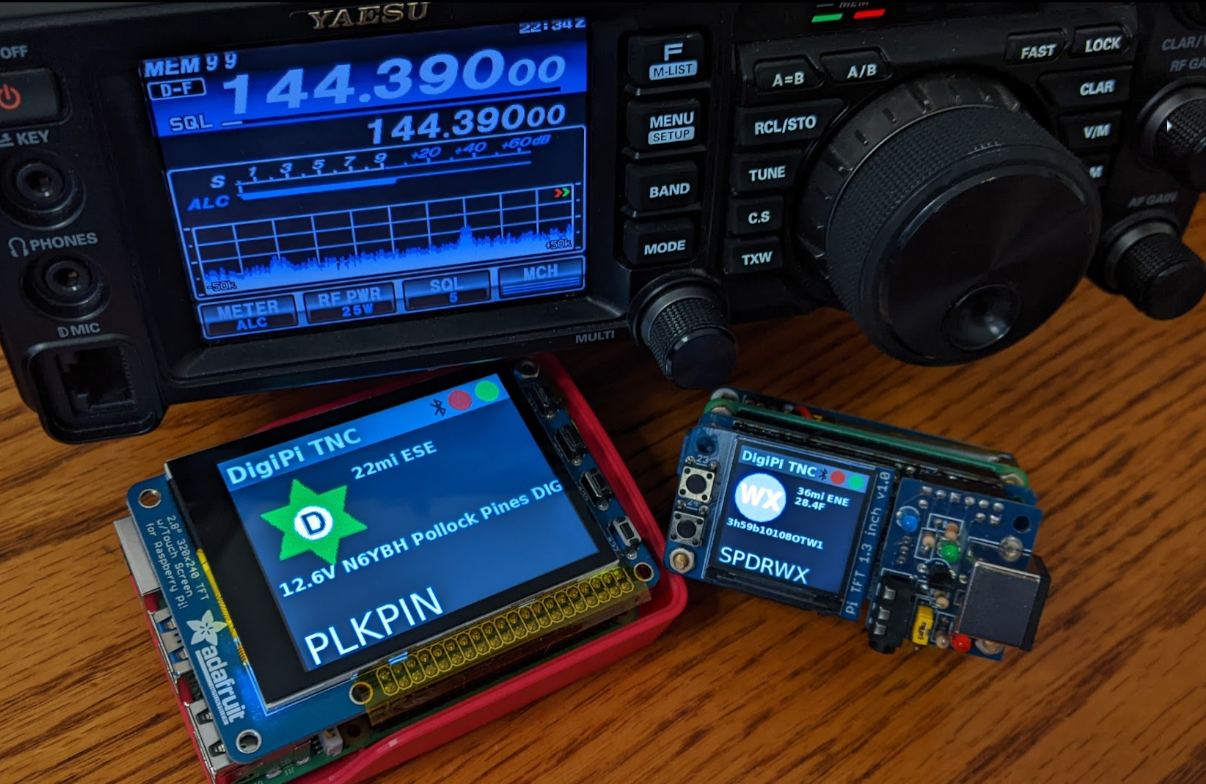
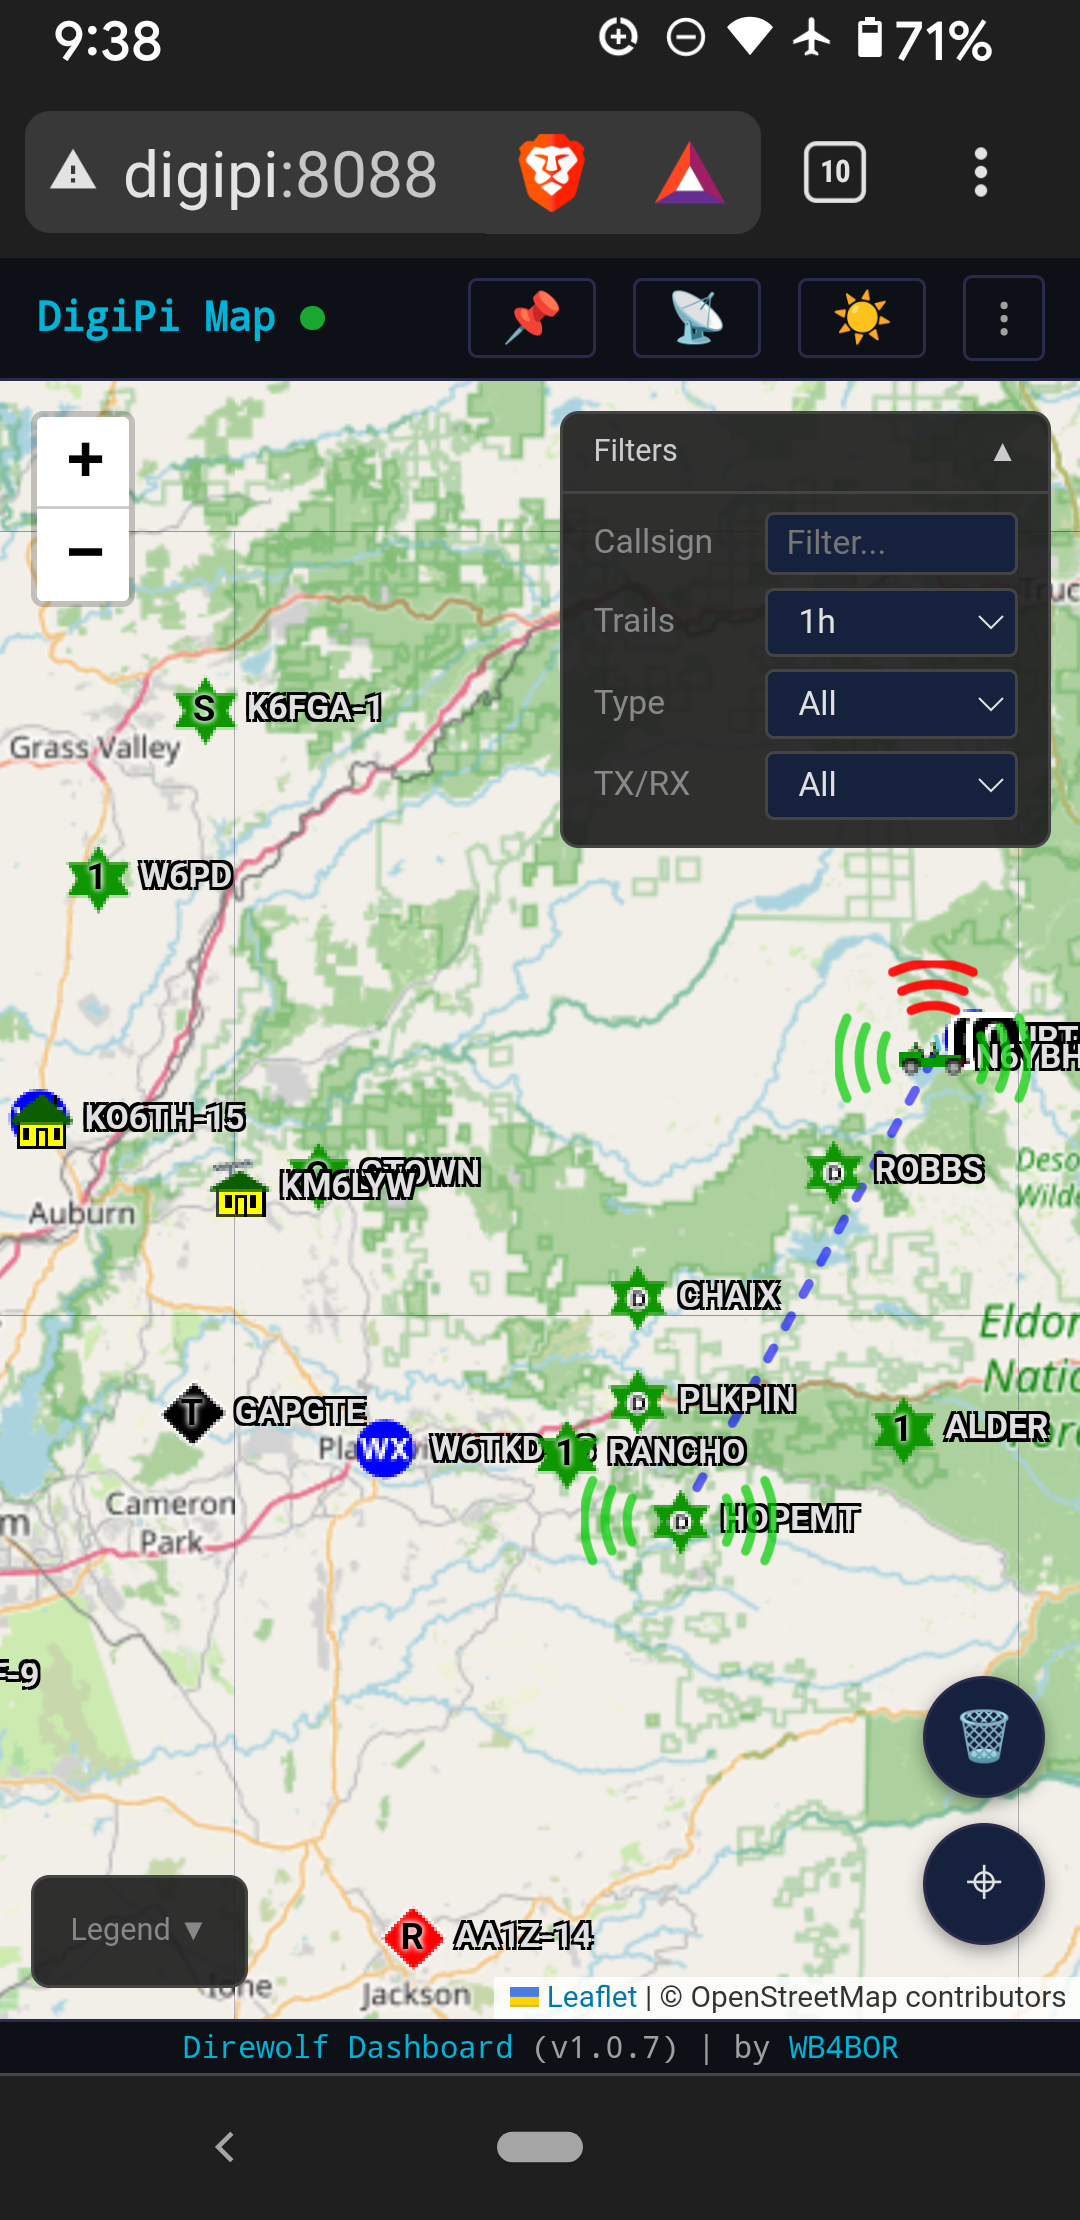
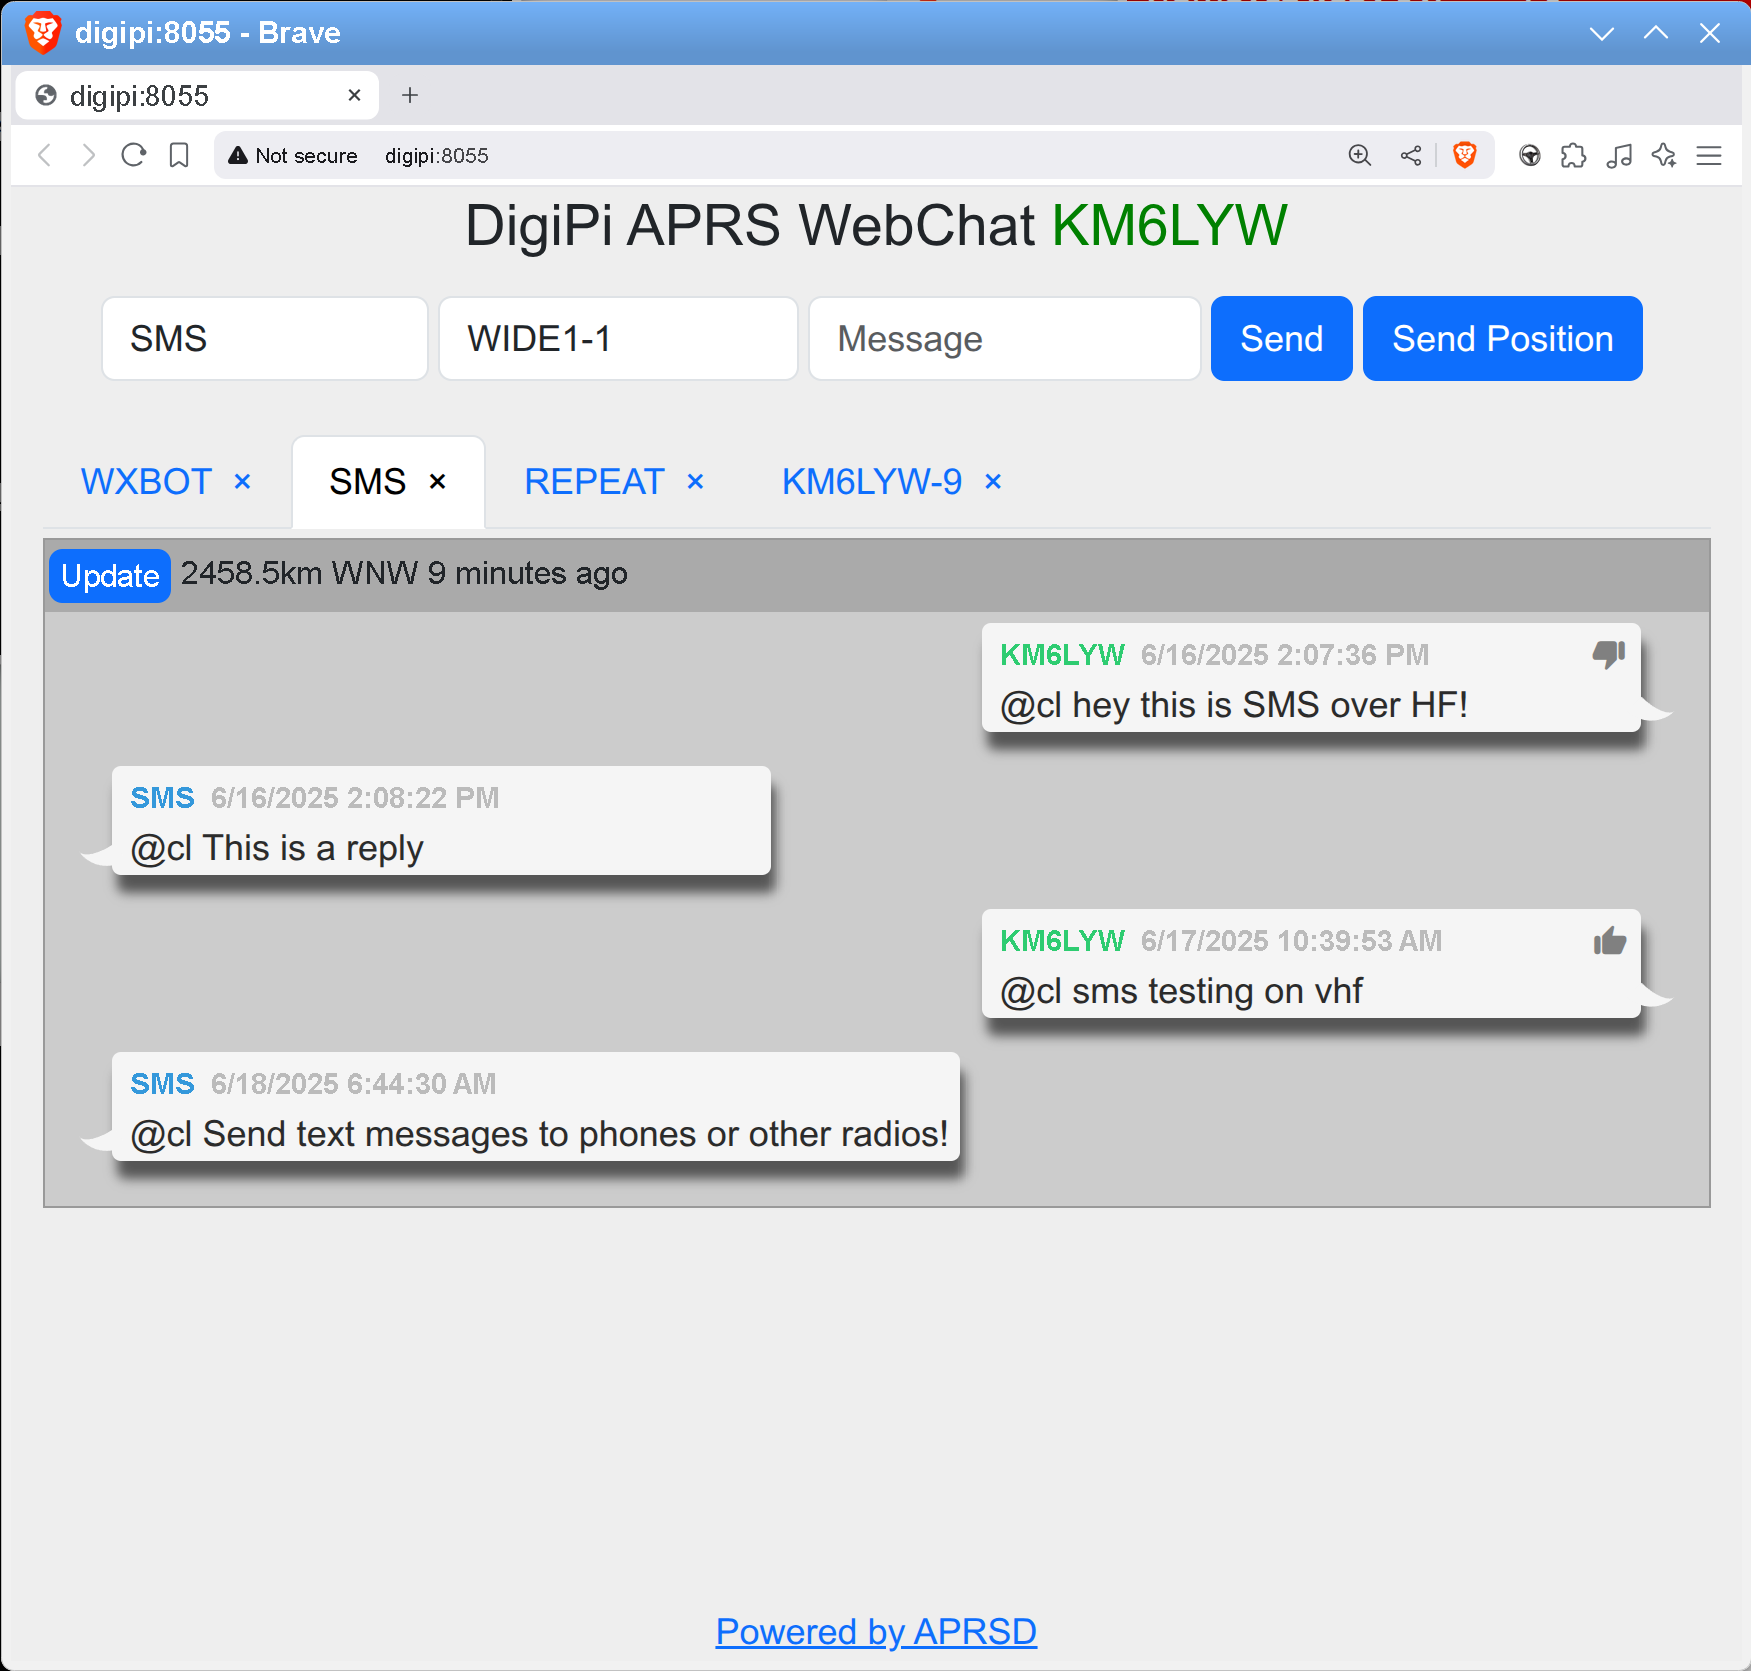
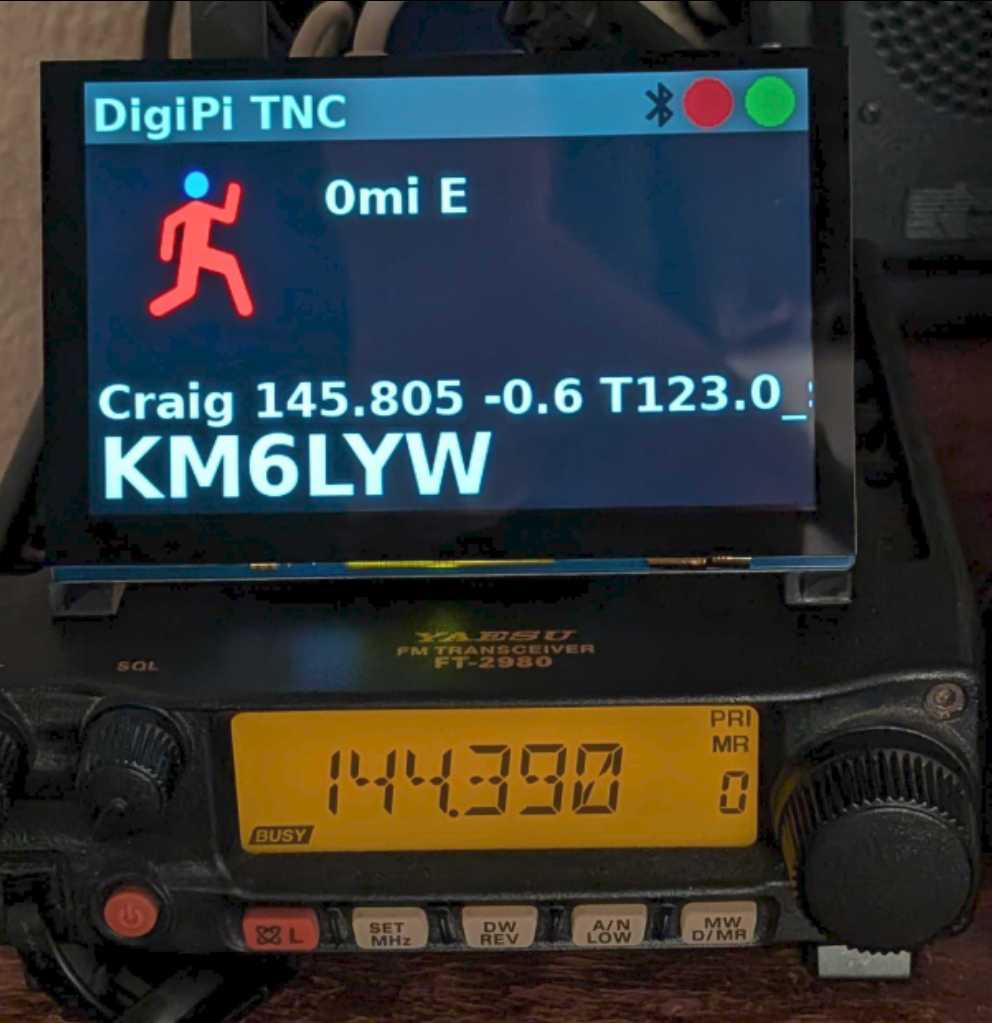
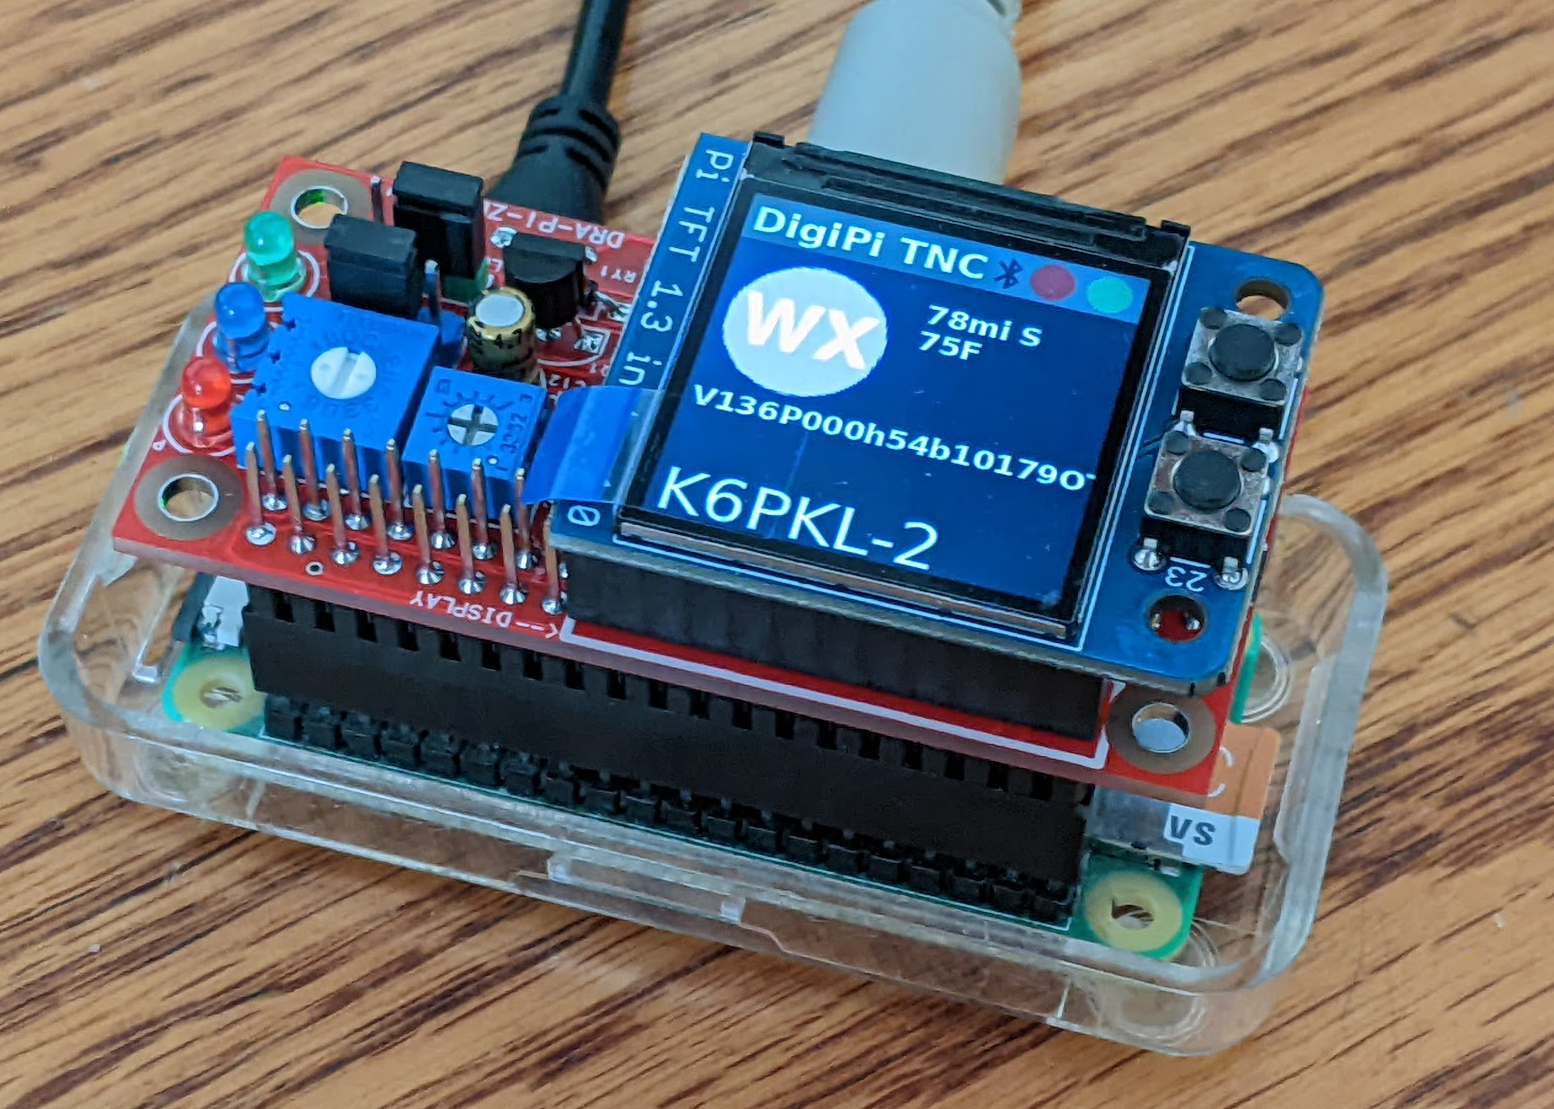
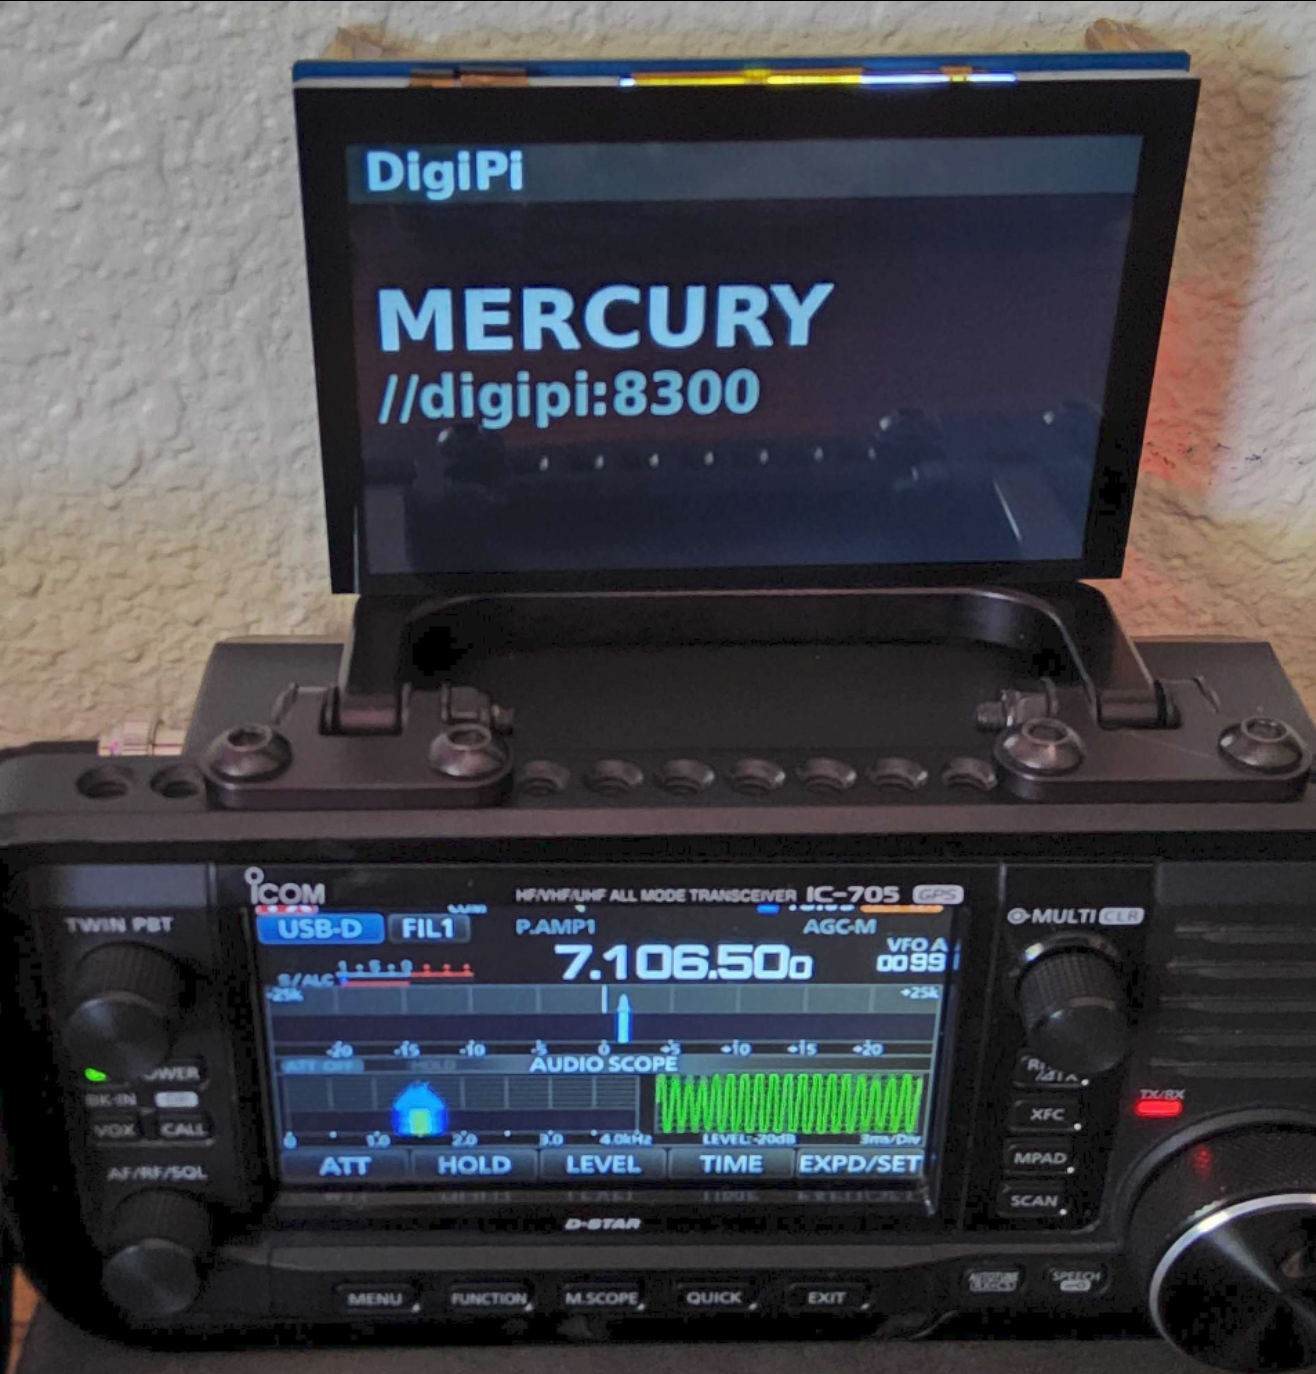
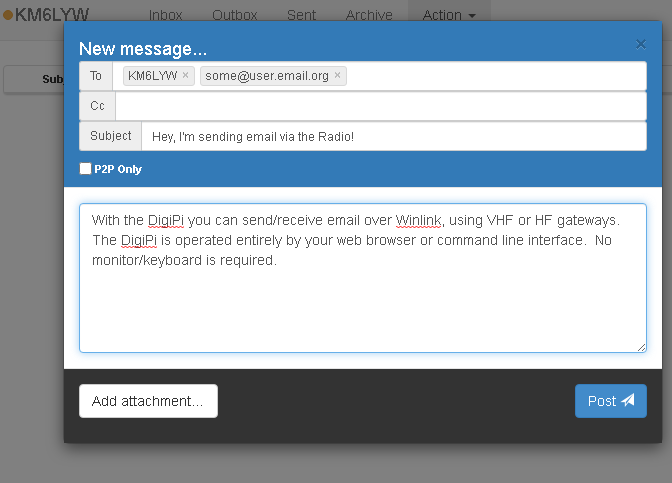
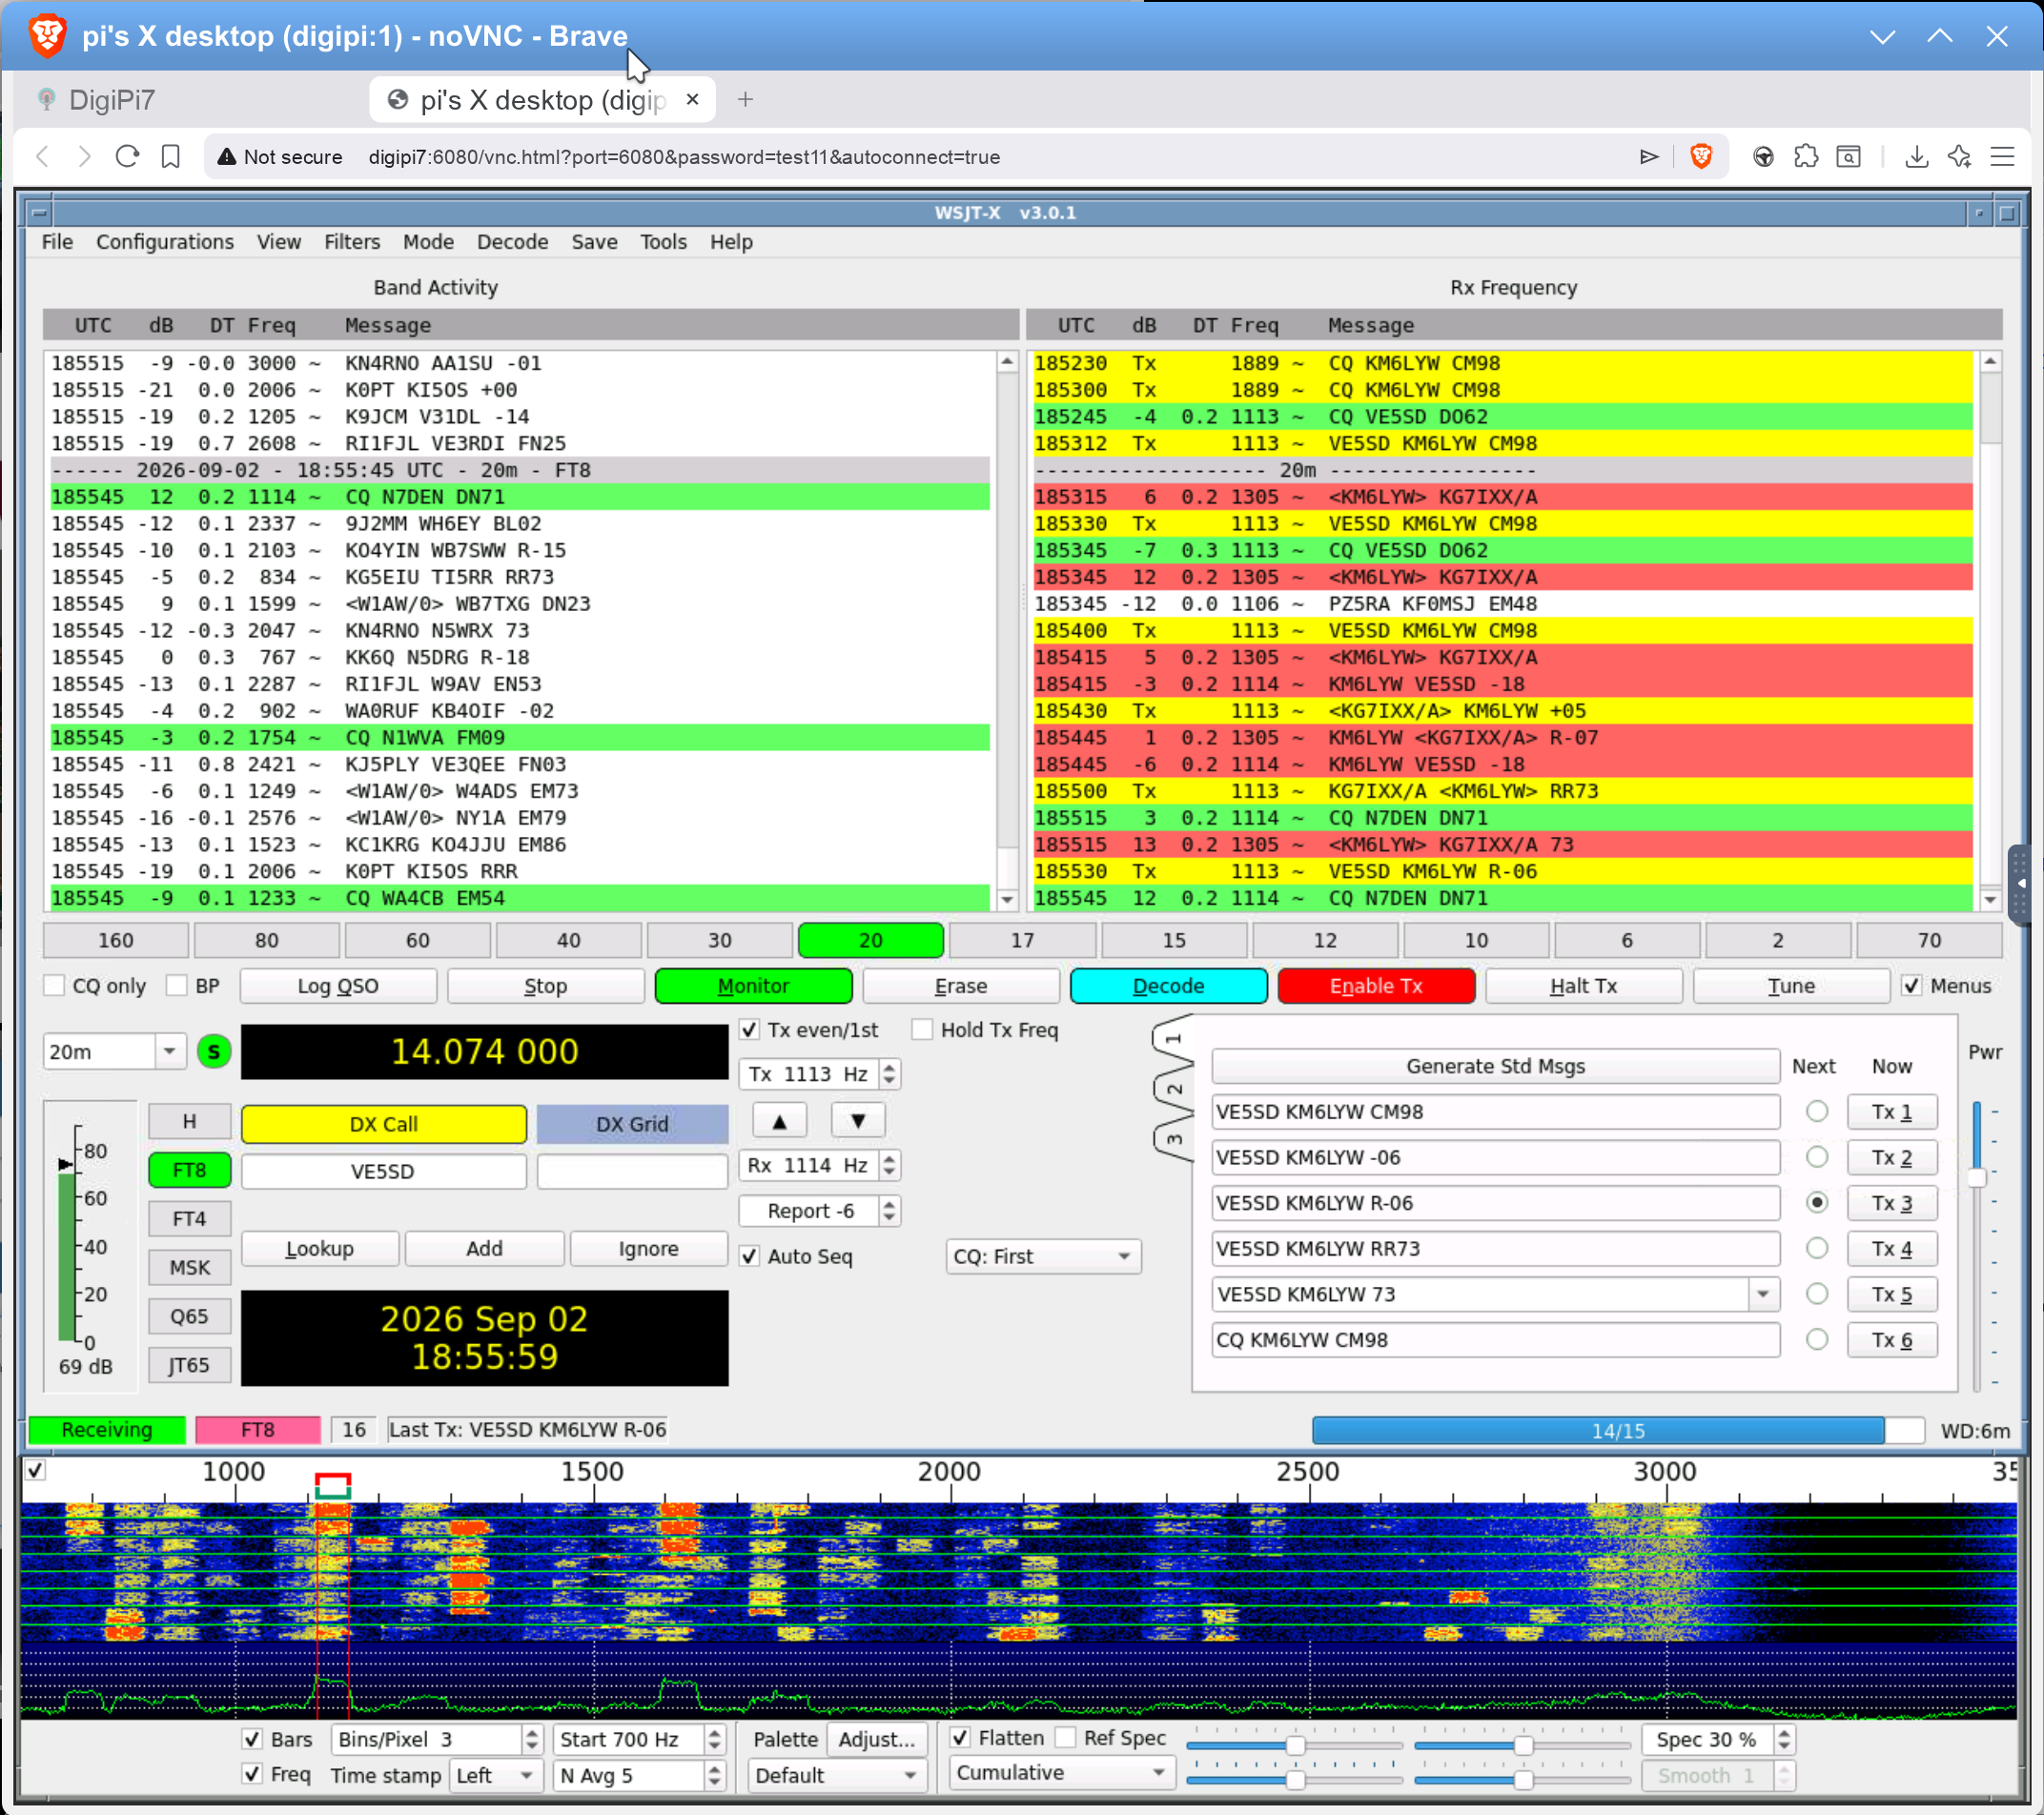
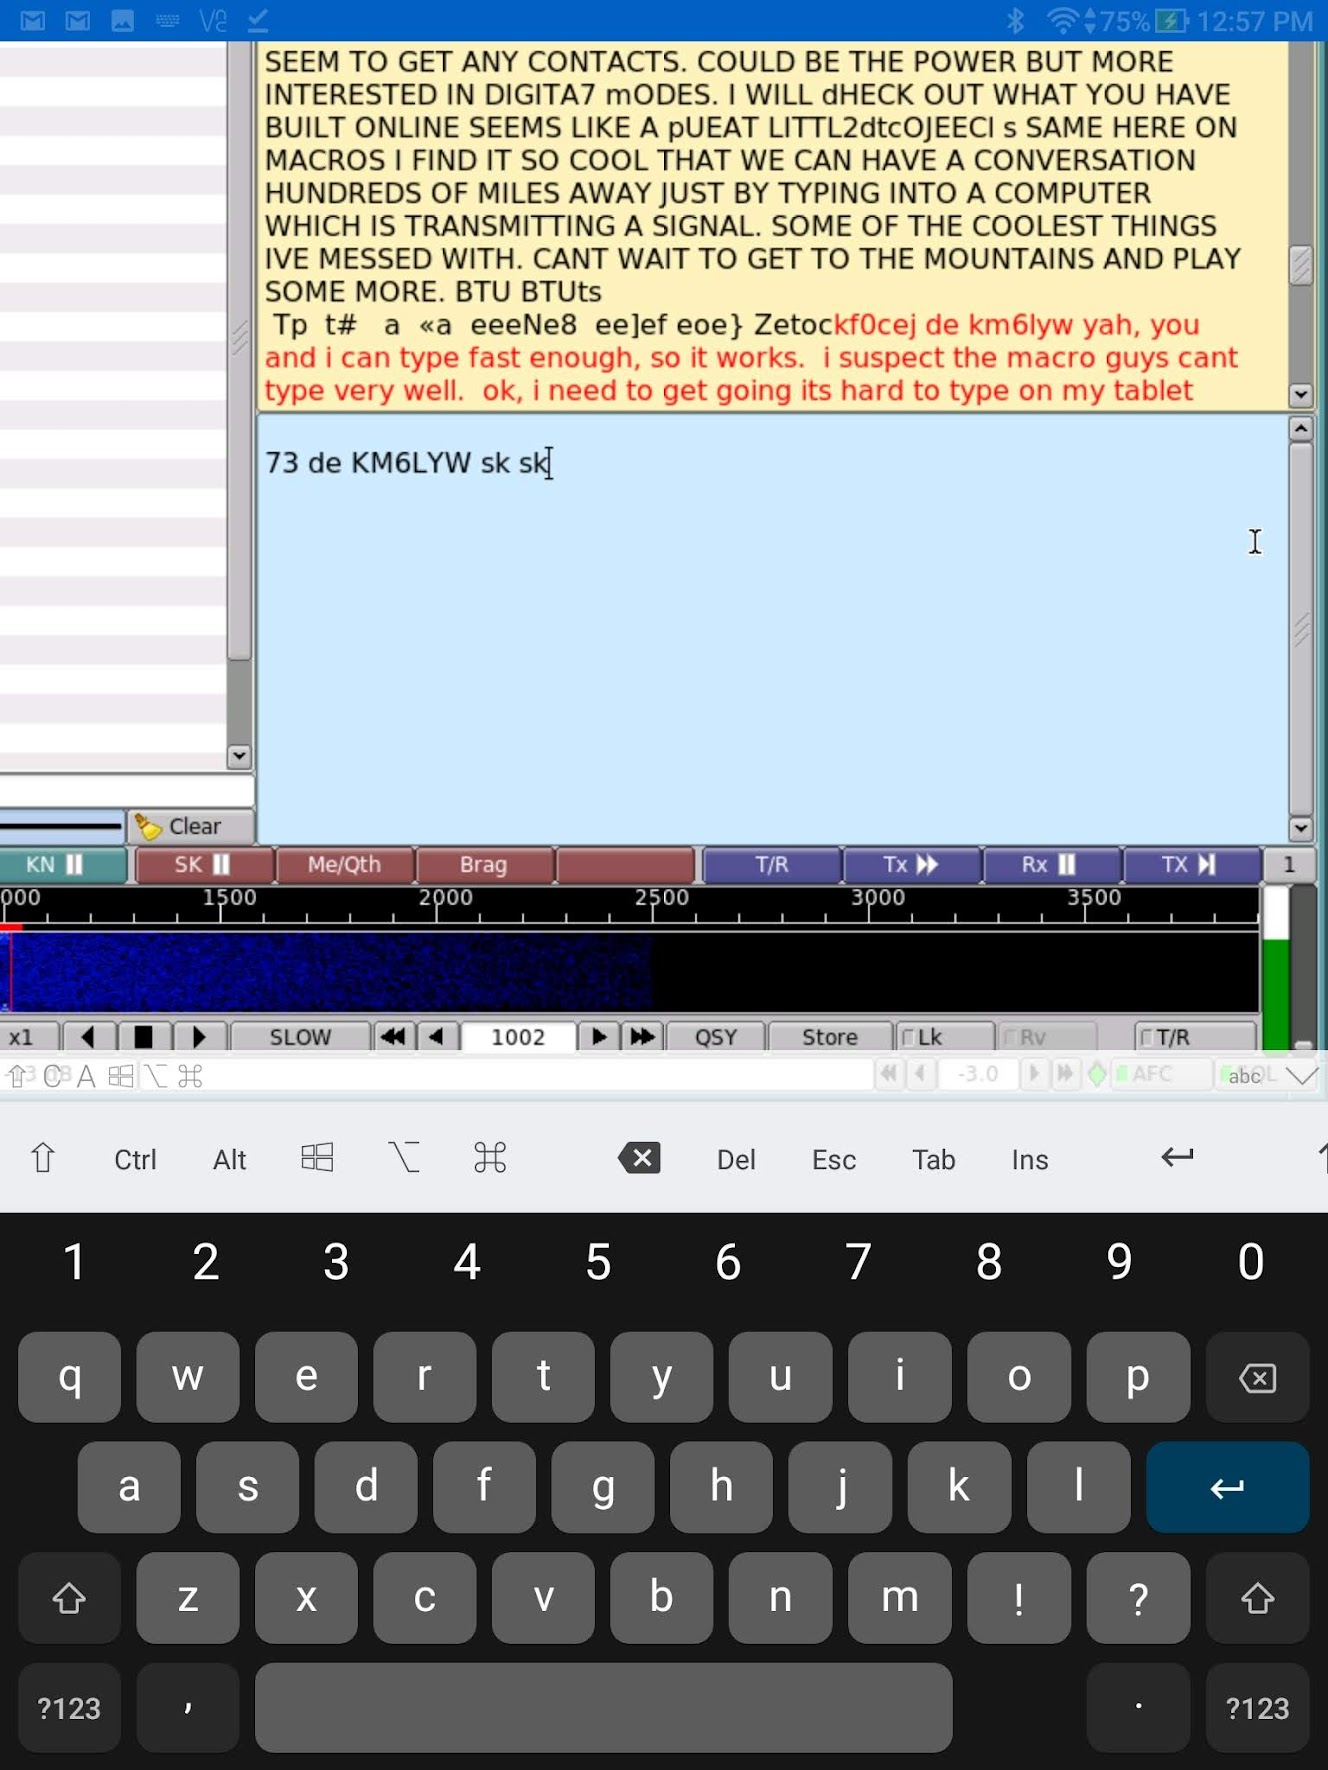
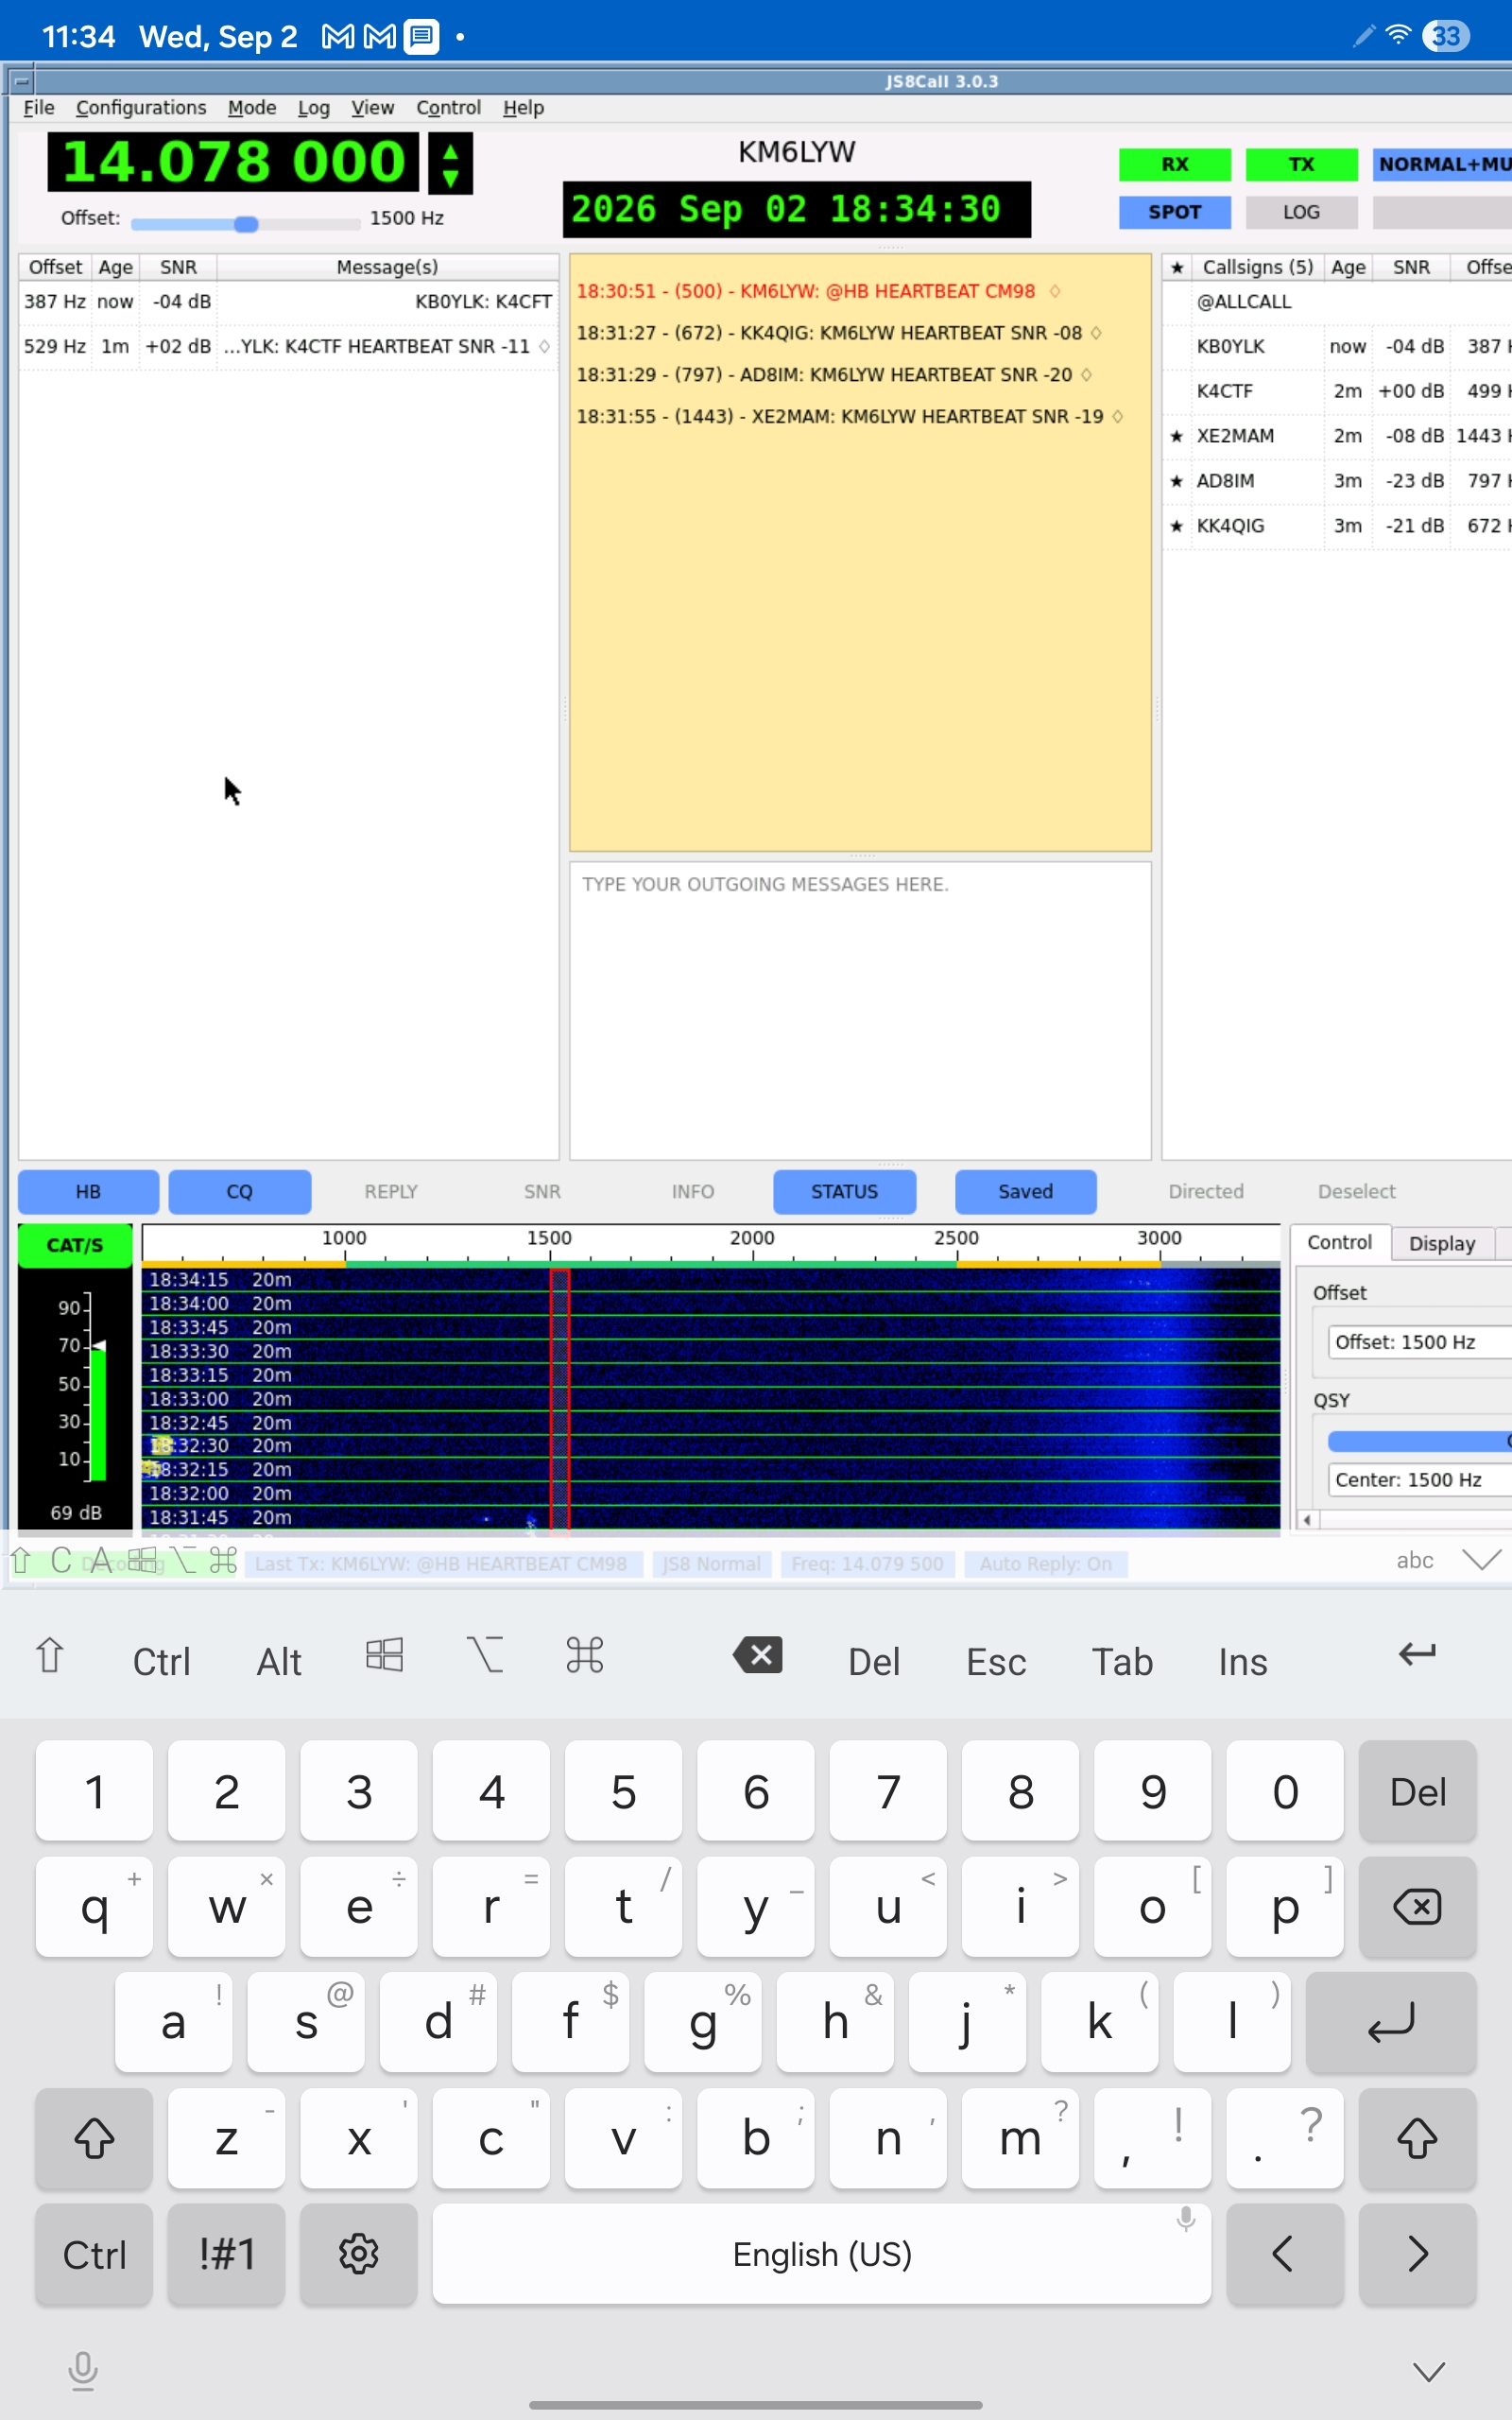
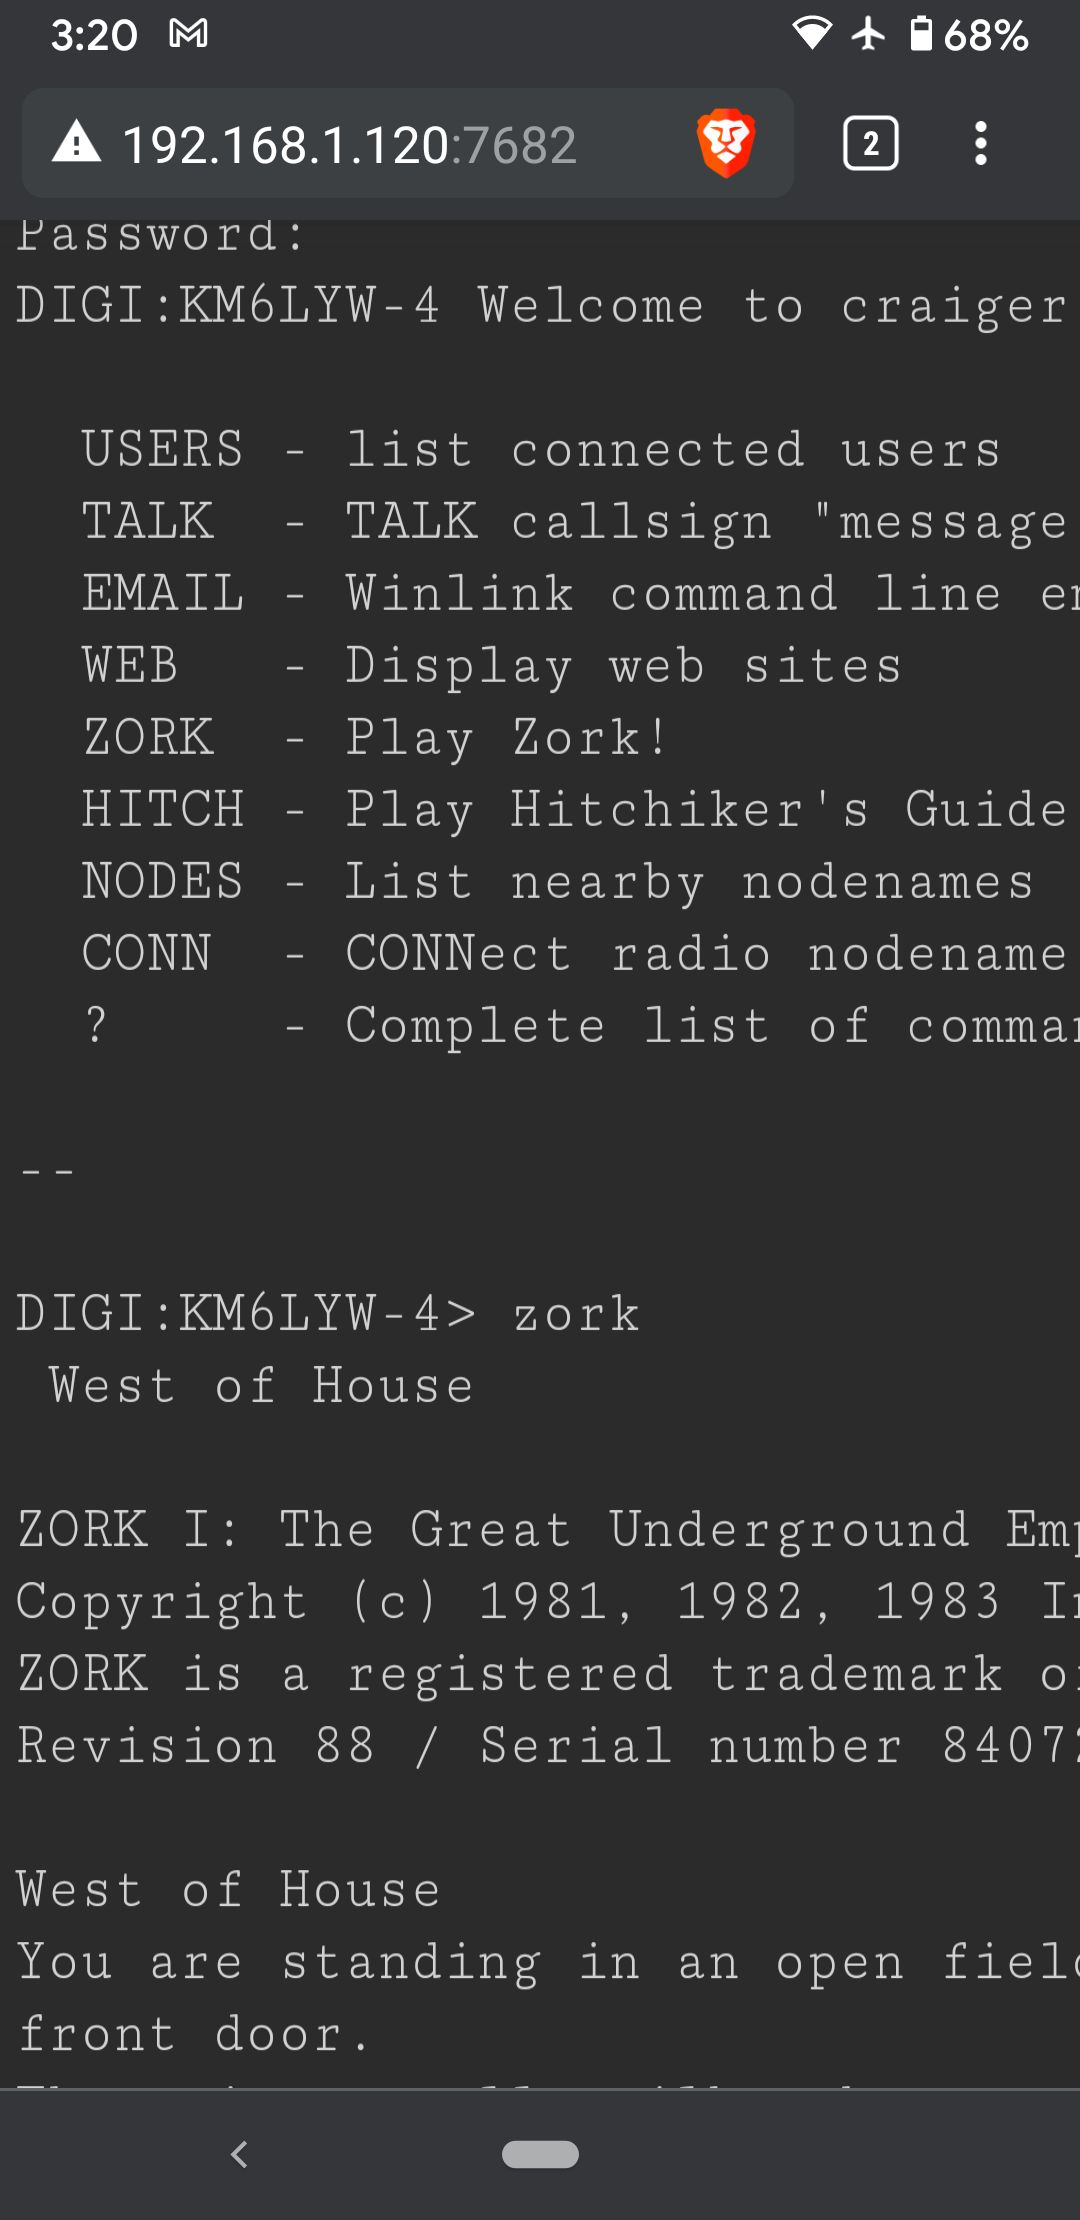
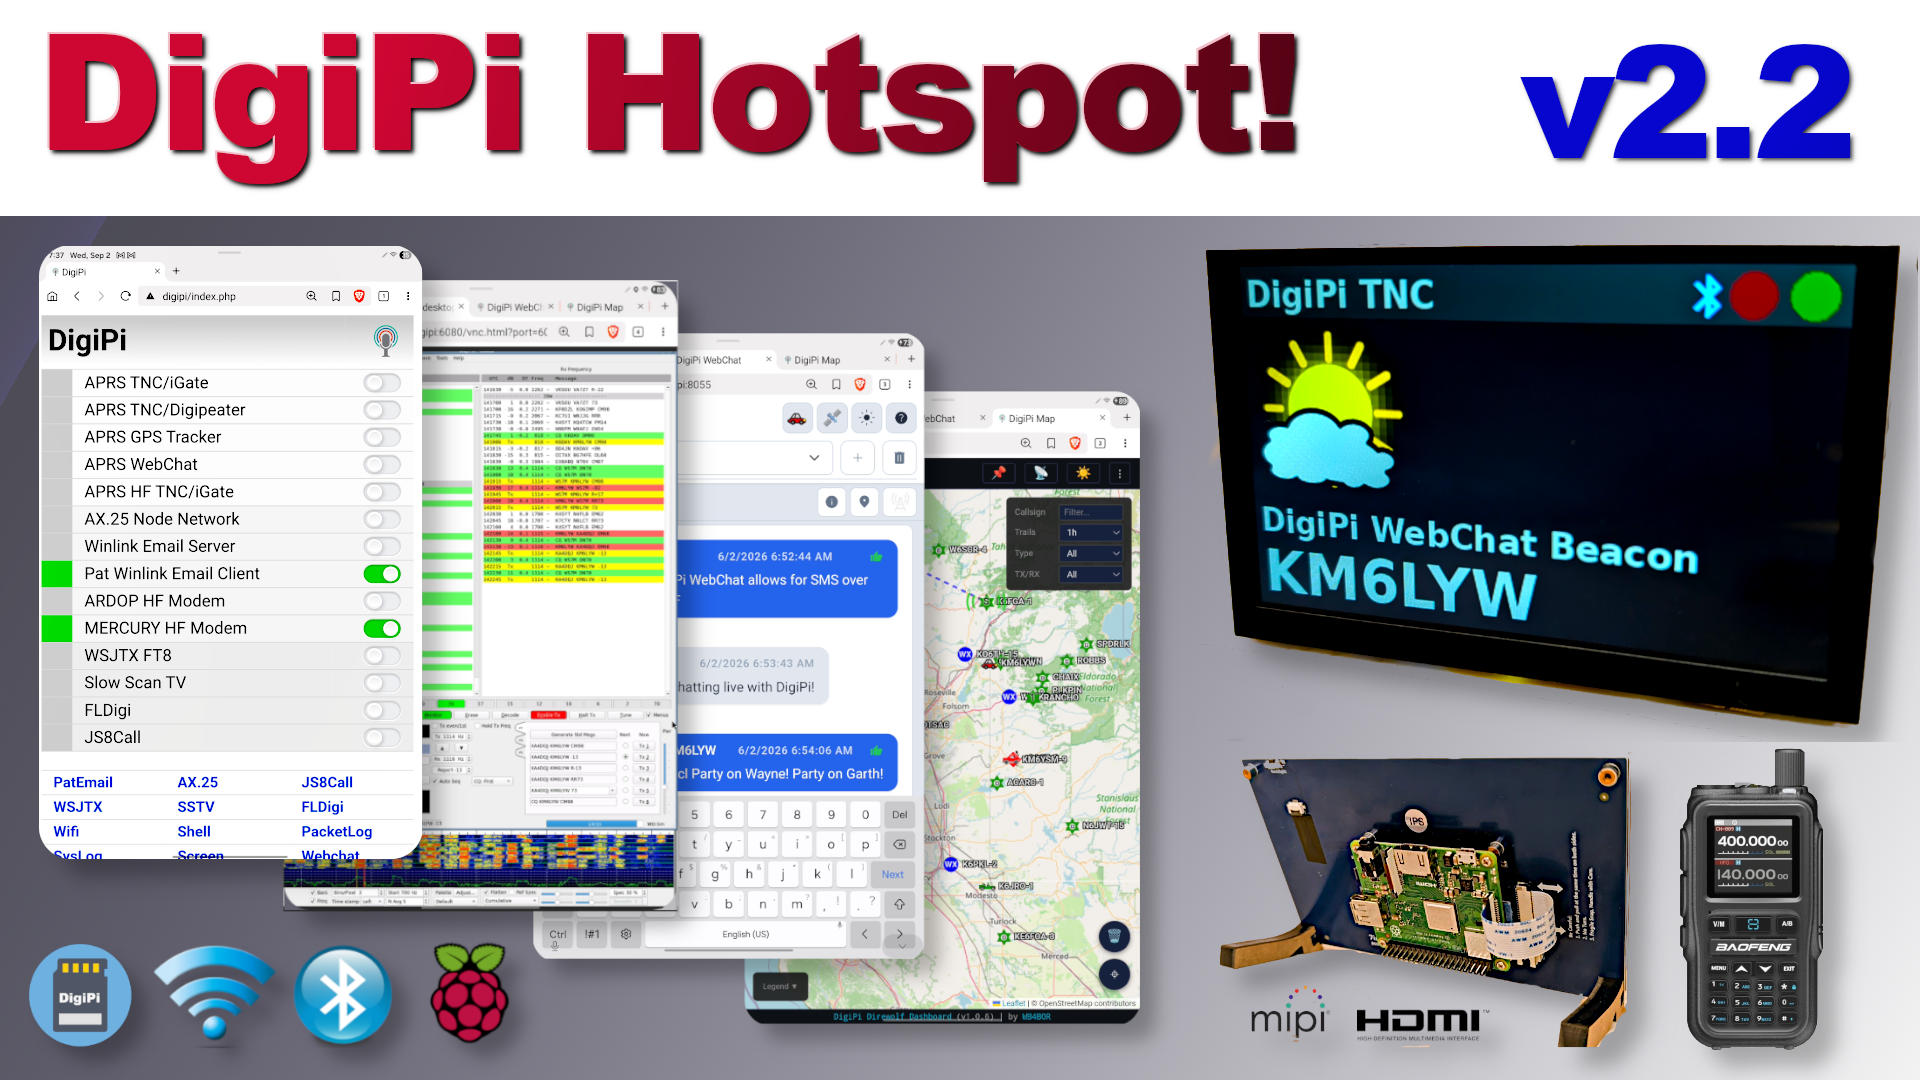
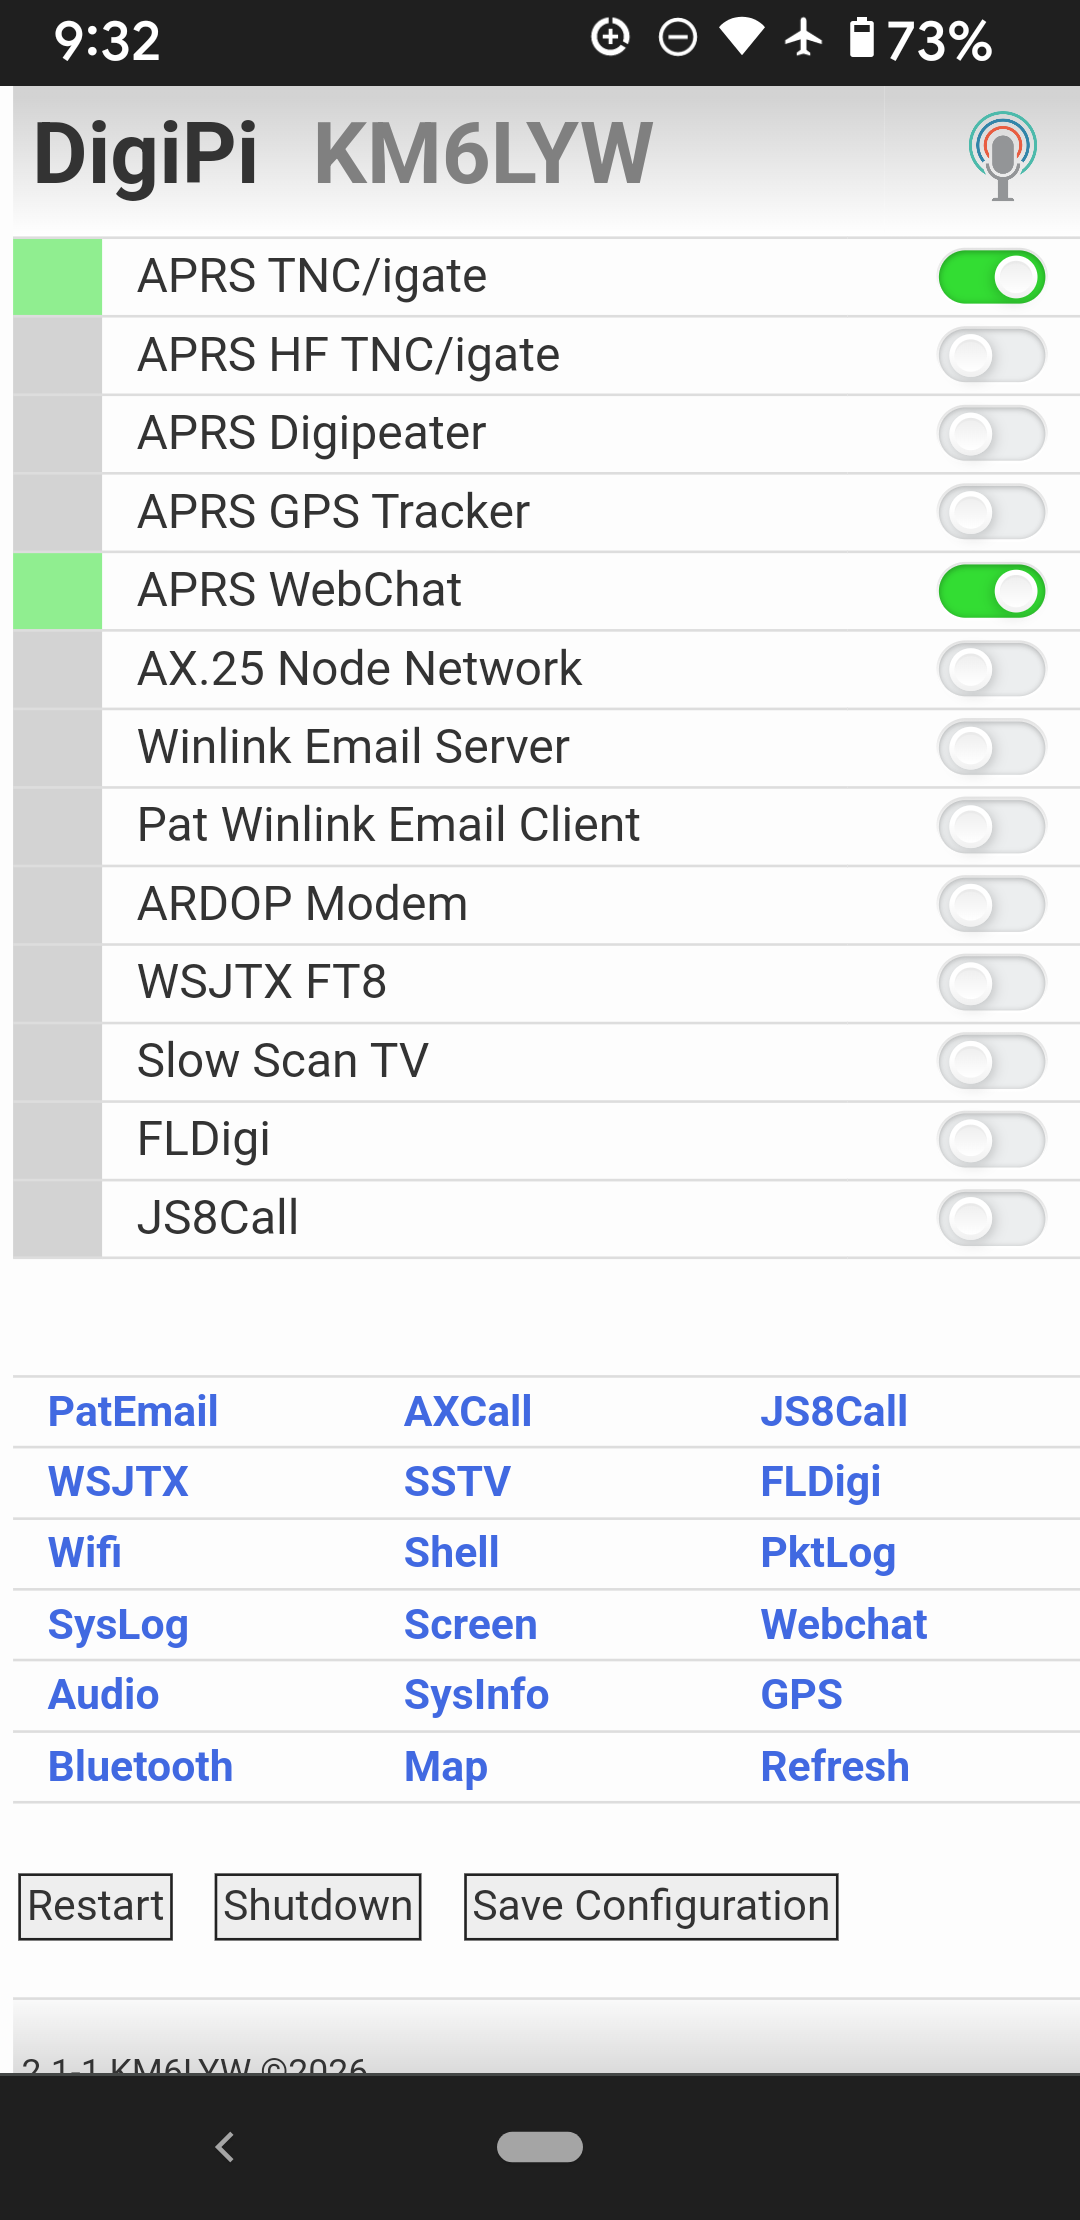
DigiPi is an easy-to-use amateur radio data transceiver hotspot for Raspberry Pi. All radio data modes are easily accessible over wifi via your phone or web browser. Make FT8, JS8Call, APRS and packet modes work like any other mobile phone app. Hookup a DigiPi to your rig and instantly have access to radio SMS, EMail, and texting. Ultra-light, low-power makes it indispensable for Summit and Park operations. Let's make Ham radio relevant in the information age! DigiPi implements all the data modes we talk about at KM6LYW Radio YouTube channel and is available to Patrons of the channel! A radio license is generally required to use DigiPi, please lookup a local Ham Radio club and get licensed today! APRS WebChat interface Send instant messages over the APRS packet network via your web browser APRS Packet Radio Network digipeater Repeat packets heard on 144.390 and 144.800(europe) APRS Packet Radio network IGate Bridge APRS Network to the Internet for email, sms, and other online services APRS Map/Dashboard Real-time animated tactical map of local APRS objects and traffic Winlink email server Listen for Winlink radio clients requesting to send/recieve email Winlink email client Pat, web-based inbox/outbox email interface MERCURY modem WinLink OFDM(VARAHF-like) E-Mail transport - Experimental ARDOP modem WinLink transport - world-wide E-Mmail. Woad Winlink Android app connects to DigiPi via wireless TNC/KISS interface WSJTX FT8 Ultra low signal-to-noise ratio contacts via web-browser/wifi/phone JS8 Call Improved Ultra low signal-to-noise ratio keyboard-to-keyboard via web-browser/wifi/phone FLDigi CW, PSK31, RTTY, Contessa, FSQ, Hell, IFKP, MFSK MT63, Olivia, PSK QPSK, 8PSK, PSKR, THOR, Throb, WeatherFax Slow Scan TV Send/receive images via web-browser/wifi/phone AX.25 Networking Radio connected network protocol used for winlink/node services IP tunnel, with actual address on the internet (44.* for amateur radio) Node Services Run your own bulletin board, or messaging service Connect to other nodes, via intermediate nodes Bluetooth Pairing Web-based bluetooth pairing for phone/tablet Use with aprsdroid, radiomail, woad, serial-over-bluetooth TNC Components Raspberry Pi (Pi Zero 2 Wireless, Pi3, Pi4, Pi5) Radio Interface board if required: DigiRig, DigiPi Hat, fe-pi/n7ebb.org, DRA-Pi-Zero A USB cable for radios which support cat/rig control and audio over USB An optional LCD display Pre configured software on DigiPi Rapberry Pi SD card image: APRSd WebChat Server Direwolf sound modem and TNC Direwatch display driver, GPIO TFT, HDMI, and mipi/DSI displays Direwolf Dashboard tactical map LinuxRMS Winlink server Pat web-based winlik email client Web-based mangement interface Bluetooth rfcomm serial port Wifi autohotspot AX.25 Networking, IP, ax25d services Virtual display driver to use interactive apps via web-browser/wifi/phone WSJTX FT8 JS8Call Improved FLDigi qSSTV Hamlib support, including newest rigs, FTX-1, 7300mkII Linux Node service, netrom, bulletin board, Infocom games Audio driver and mixer settings for audio hats MERCURY modem WinLink OFDM(VARAHF-like) E-Mail transport - Experimental ARDOP modem WinLink E-Mail transpot Rig Control (rigctld) for CAT/audio on USB-connected radios Web-based wifi setup, log viewers, AX.25 utilities, axcall, LinPac Web-based ssh command prompt BT-Hub Bluetooth pairing/phone management web interface

Shopping list

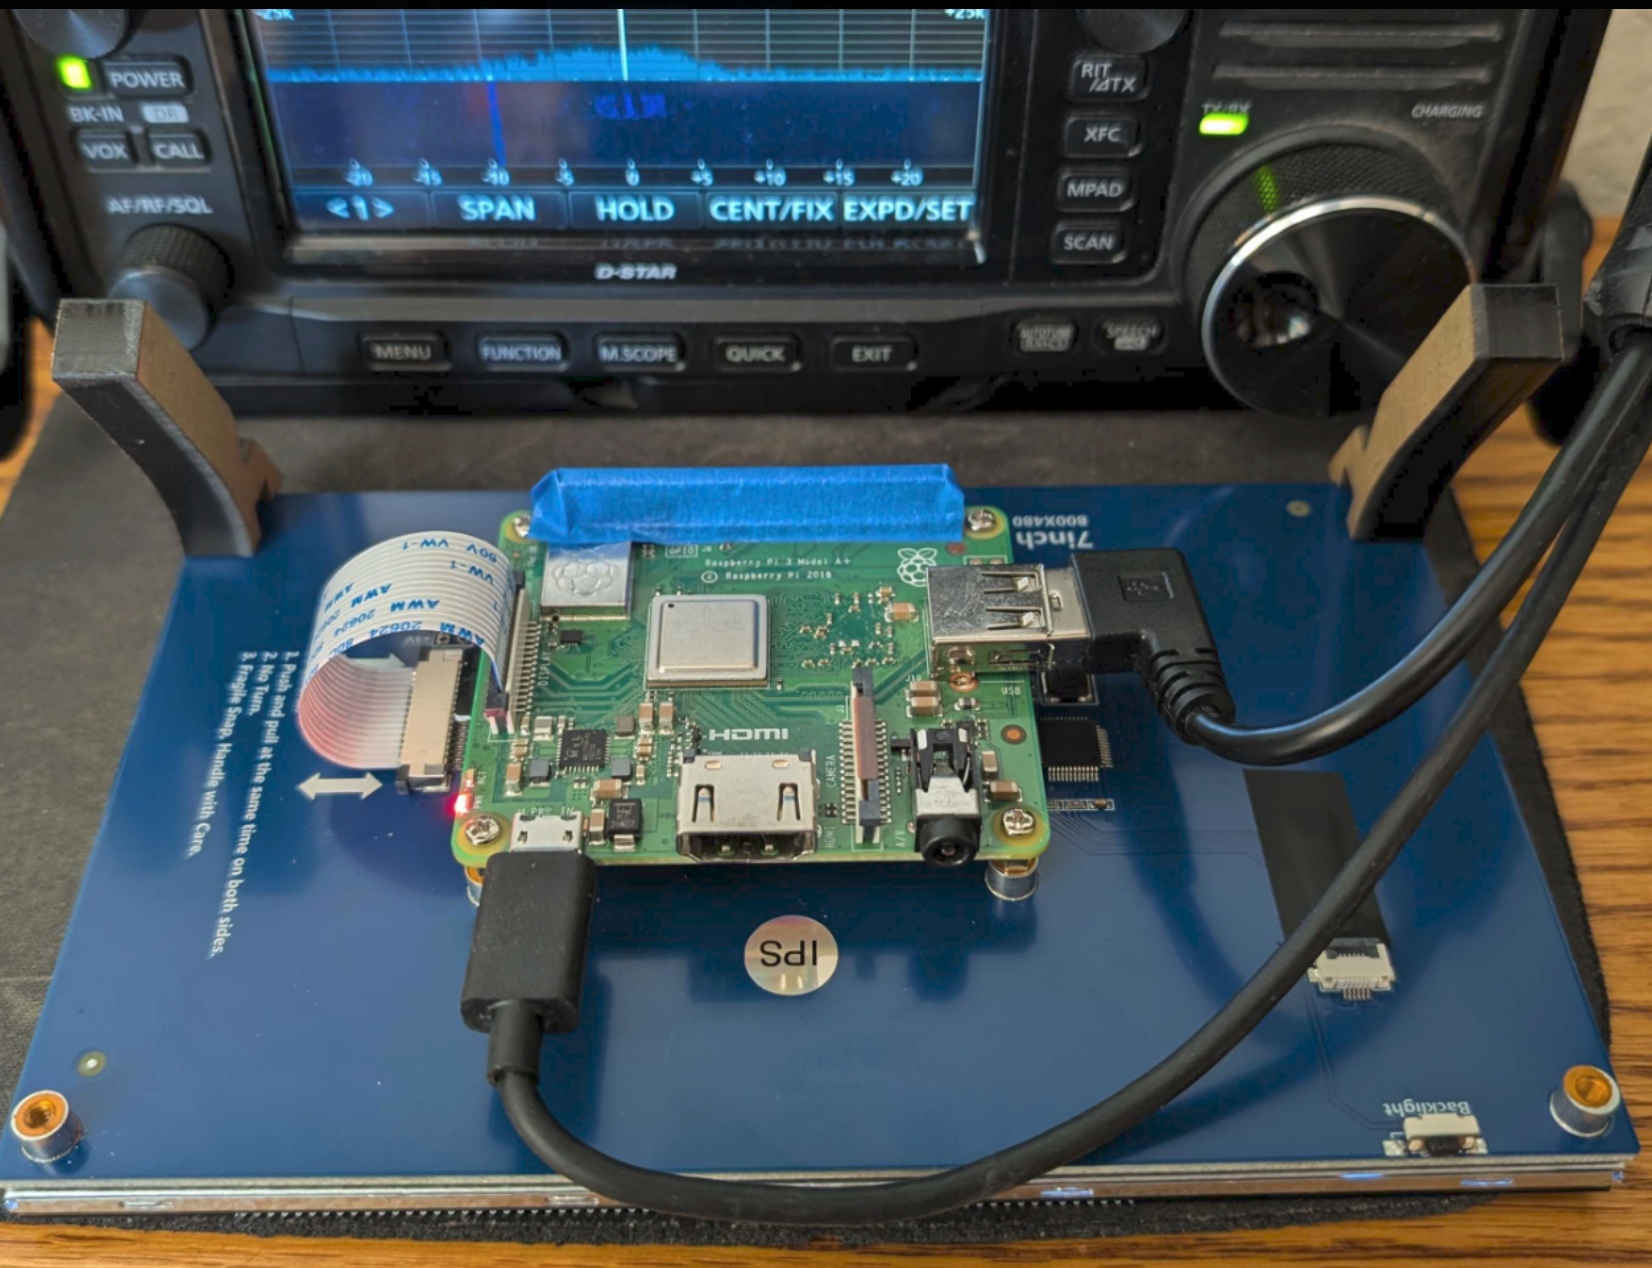
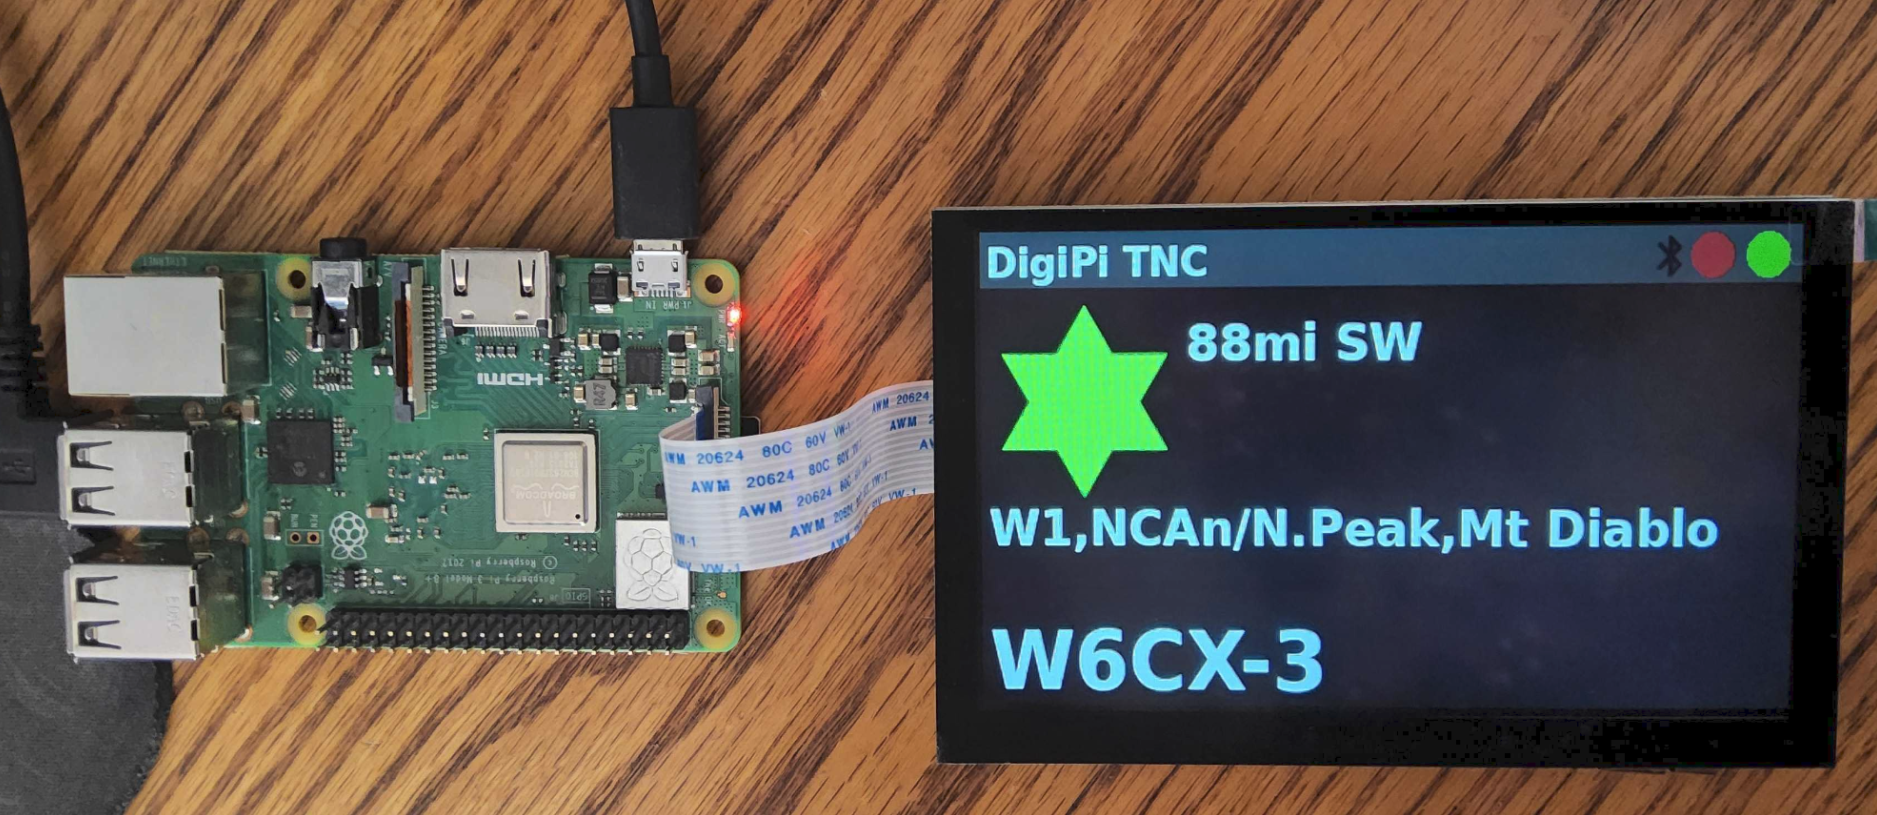
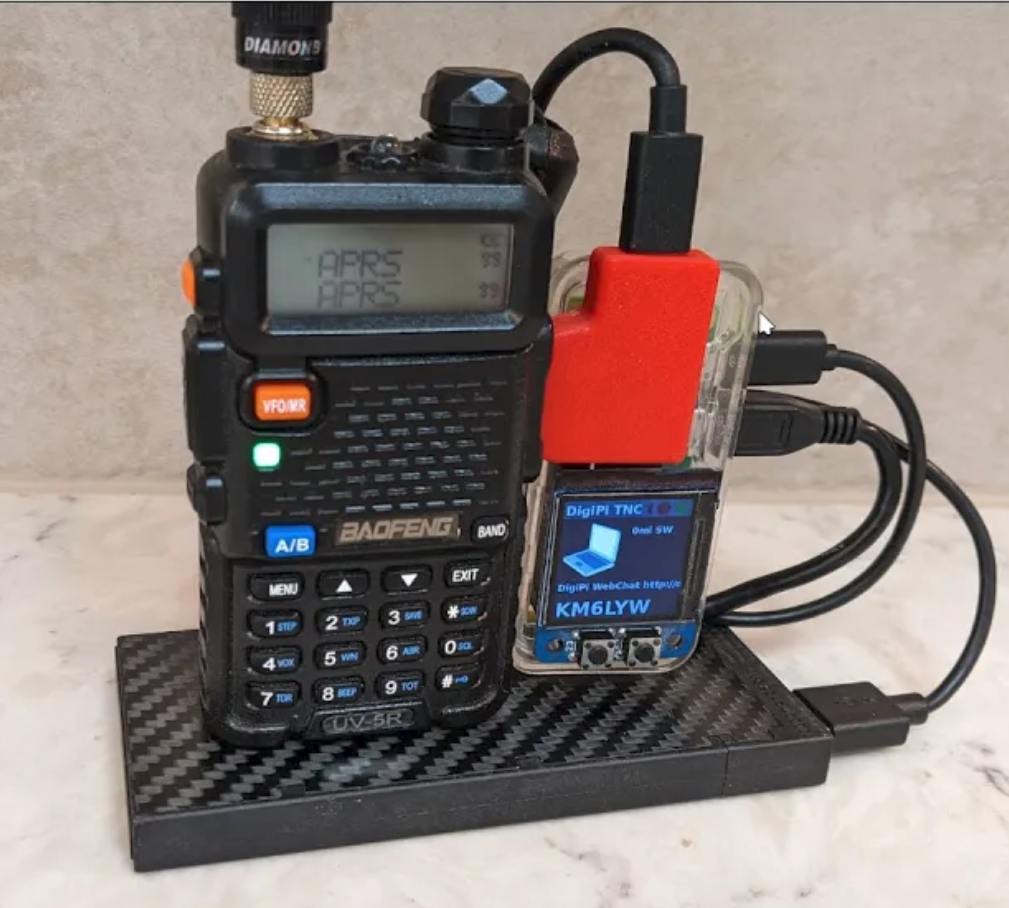
There are two different DigiPi builds. A USB-connected build (type A), and a PTT-circuit build (type B). Radio's with USB ports (ic7300, yaesu991, ic705, Xiegu etc) are type A, Just get a Raspberry Pi and a USB cable. If your radio doesn't have a USB port (Yaesu FTM400/300/200, dual band rigs, Baofeng, HT's, Retevis, etc) are type B. You'll need a radio interface adapter board for push-to-talk, audio in, audio out and ground. You'll need to procure or fabricate a cable for your particular rig which includes these four wires. DigiRig sells prefabricated cables which can be used with TRRS jacks. DigiPi Type A Bill of Materials (USB-connected/hamlib radios) A Raspberry Pi, ideally a Pi 3A+ or better Adafruit, PiShop ($25) Watch http://rpilocator.com during the global supply chain crisis and chip shortage. Single-core Pi's like the Zero, 3A, 2B are unsupported (3B+, 3A+, Pi4, Pi5 and Zero2W are fine) USB cable that fits your Pi and radio. A Zero2W will also require a USB adapter/cable Amazon $2 DigiPi Type B Bill of Materials (dual-band rigs with speaker, mic and ptt) A Raspberry Pi, ideally a Pi 3A+ or better Adafruit, PiShop ($25) Watch http://rpilocator.com during the global supply chain crisis and chip shortage. Single-core Pi's like the Zero, 3A, 2B are unsupported (3B+, 3A+, Pi4, Pi5 and Zero2W are fine) Radio Interface board, one of: Ferrite Bead around all the wires between the radio and the audio board ($5) Optional displays for either build 5"/7" DSI display (must be 800x480) Amazon ($35) (Unsupported on Zero2W) 720p HDMI display 720p or greater resolution 1.3" TFT small screen ST7789 (240x240) PiZero2W TFT display Adafruit, Amazon ($14) (Best for Zero2W) 3.5" TFT large screen ILI9486 (320x480) display: Amazon ($25) (Best TFT) 3.5" TFT large screen MHS35 (320x480) display: Amazon ($25) 2.8" TFT medium screen ILI9341 (240x320) display: Adafruit ($45) (Do NOT install the factory drivers)

Configuration

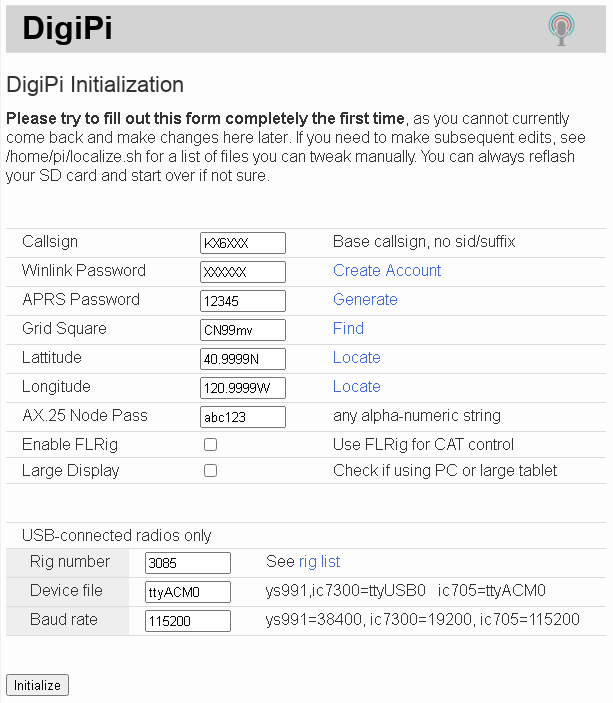
A Configuration/demo video is available on the KM6LYW Radio youtube channel. If not using Balena Etcher, you'll need to "unzip" the image first to decompress it. Then flash it to your SD card. It'll fit on a 8G card with room to spare. Look up how to do this. On Linux, it's dd if=digipi-1.9-1.img of=/dev/sdX bs=4M where sdX is the drive letter of your blank SD card (run dmesg to see). On Windows, Balena Etcher. On Mac, try this. Boot the Raspberry Pi with the newly flashed SD card. Wait for the "DigiPi" wifi hot spot to appear on your phone or pc's wifi settings. Connect to the "DigiPi" hot spot with password "abcdefghij" In a web browser, visit "http://10.0.0.5/" and click Wifi Enter your home wifi ssid and password and reboot. Once booted on your home network, visit the website http://digipi/. If the host isn't found, login to your router and look for any newly connected wifi devices, and use the associated IP address. Also check to make sure the DigiPi hotspot no longer exists, if it still exists, this is a sign it had trouble connecting to your home wifi. Also try "http://digipi.local/" Now that the DigiPi is on your home network, click the "Initialize" link at the bottom of http://digipi/. You need to add your callsign, passwords, grid squares and other localization items to your Pi. Keep in mind, once you change a value, you can't use this process to change it again. See /home/pi/localize.env for things you can change after-the-fact. click [Initialize] Once changes are made, reboot the DigiPi by clicking [Reboot] at the bottom of http://digipi/. This will boot the system back into firmware (read-only) mode. Enjoy your DigiPi!
Community

http://discord.gg/3X9bMjjwxw (DigiPi live chat) http://groups.google.com/u/2/g/digipi (Primary group/mailing list) http://groups.io/g/digipi/ (old/depricated list, with some good info)

Additional information

The "pi" user password is "raspberry" If not using a USB radio this expects a single audio device, possibly the FE-Pi Audio Z v2, or Audio Injector Z. Edit /boot/config.txt to switch between these two audio hats. The default is currently the FE-Pi. The filesystem is "read only" to prevent SD card wear and so you don't have to do a clean shutdown (just turn off the power is fine). To make modifications, you must "sudo remount" first. If you have a usb-connected radio, no soldering is required. For ft8/sstv/js8call, you'll want to configure your radio from within each app. Yaesu 991 is rig 1035 Icom 7300 is rig 3073 Icom 705 is rig 3085 The GUI apps (js8call, fldigi, ft8, sstv) can be used with a VNC client on your phone. This can be considerably easier to use than a web browser, particularly when it comes to typing, zooming, etc. "RealVNC" on Google Play is sufficient. The VNC login parameters are: host: "digipi:5901" or "10.0.0.5:5901" in the field password: "test11" Direwolf will exert a voltage on gpio pin 12 for Push-to-talk. It's up to you to use this signal to short your PTT wire to ground with a FET or Radio Interface Device above. If you hookukp a green led (with 220ohm resistor inline) to gpio pin 16 it will light up when direwolf detects a carrier. If you hookup a red led (with 220ohm resistor inline) to gpio pin 26 it will light up on transmit. If you hookup a blue led (with 220ohm resistor inline) to gpio pin 5 it will light up if you connect a bluetooth device like aprsdroid. I used a 3.2K resistor with this blue led in my implementation because blue leds are oddly bright. If you'd like to change the hostname (and bluetooth name), edit /etc/hostname and also add your hostname to the list next to 127.0.1.1 in /etc/hosts. To use a bluetooth app (aprsdroid, woad) you'll need to pair the device first. Click "Bluetooth" on the DigiPi home page to initiate pairing, or, alternatively, use these commands in the "Shell": sudo remount sudo systemctl restart bluetooth sudo bluetoothctl scan on # on phone/wifi device, open bluetooth settings, make visible for pairing # watch for [NEW] Device FC:19:10:F7:55:C8 Device_name pair FC:19:10:F7:55:C8 # click [pair] on phone yes # on bluetoothctl prompt # press [yes] on droid device trust FC:19:10:F7:55:C8 quit # the USB led/icon will illuminate momentarily on the DigiPi sudo shutdown -r 0 When configuring aprsdroid, in connection settings, connection type, select "Bluetooth SPP". Select Channel "1". TNC Bluetooth Device should be "digipi". Buttons on the display will start the igate or digipeater services. Adjust the volume on the transceiver by clicking Audio, set transmit(playback) and receive(capture/press[F4]) volumes. Click PktLog to observe Average receive audio volumes. Audio volume should be reported between 10 and 90, with 50 being ideal "50(x,y)". the APRS Digipeater service will repeat WIDE1-1 traffic and relay all message-type packets sourced from the internet to targets within 160km of your digipi. Adjust ~/direwolf.digipeater.conf to taste. The device becomes a hotspot if you don't setup your wifi, in which case the ssid is "DigiPi" and the default password is "abcdefghij". You'll find the device at http://10.0.0.5/ . If you're in the field, obviously, this will be its address. Once on your home network, DigiPi will normally respond at http://digipi/ or http://digipi.local/. Check your wifi router for dhcp/IP assignments. DigiPi works with the IOS "aprs.fi" app. Add a new device and discover "Dire Wolf on DigiPi" to connect via ddns/avahi.

Howto videos and screenshots


DigiPi APRS Animated Tactical Map